


Revu Tool Set - Tutorial
Are you AEC professional using Bluebeam and tired of navigating through an endless list of tools in Revu every time you need to mark up a document? Do not hassle. Because you can create your own custom toolsets in Bluebeam Revu to make the process of accessing and using your favourite tools faster and quicker. With just a few clicks, you can create custom tool sets, save your favourite tools to them, and even define specific actions and sequences for frequently used tools. Imagine the time and effort you could save by having all your go-to tools right at your fingertips?
This step-by-step guide will help you discover how to create your custom tool sets in Bluebeam Revu and boost your productivity to unprecedented levels. Let’s discuss this in detail.
Creating a Custom Toolset
To create a new toolset in Revu 21.
Step 1 - Open the “Tool Chest” Panel.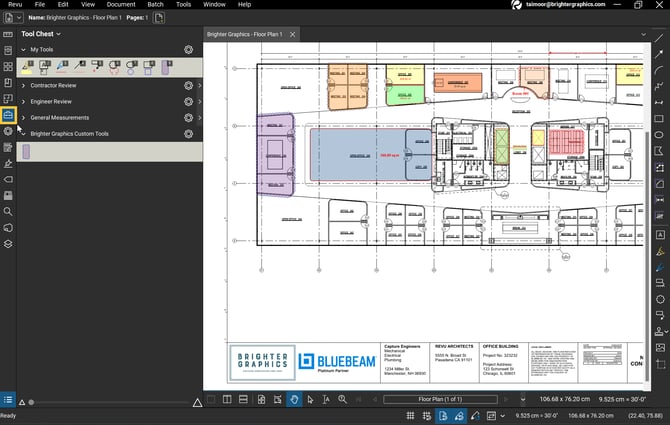
Step 2 - Click on the “Tool Chest” drop-down menu. Then select “Manage Tool Sets” (second last option).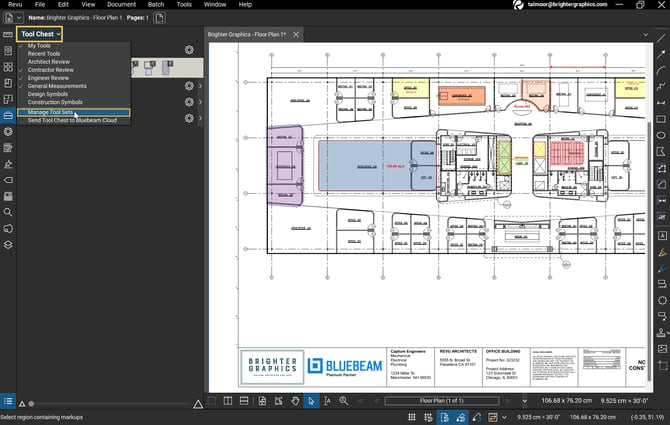
The “Manage Tool Sets” dialogue box appears with a list of current Tool Sets. The checked boxes indicate the tool sets turned active in the current Profile. While the arrows at the side allow options to rearrange how the tool sets are ordered in the Tool Chest.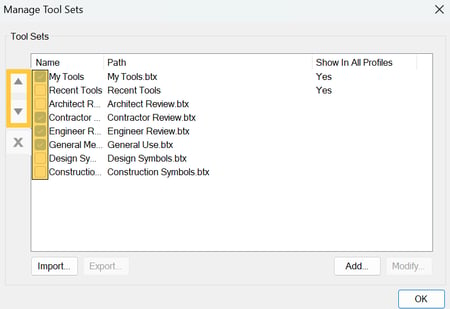
Step 3 - Click the “Add” button.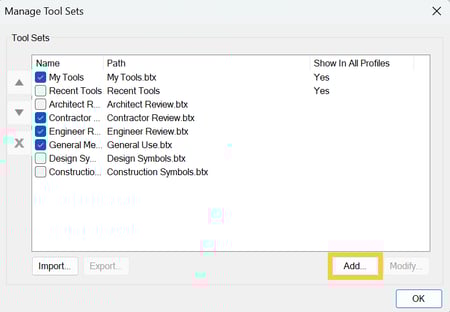
Step 4 - The “Add Tool Set” dialogue box will appear like the one below. Leave “New” selected. In the title field, type your desired tool name (e.g., Brighter Graphics Custom Tools) > Uncheck “Show in All Profiles” > Click “OK.”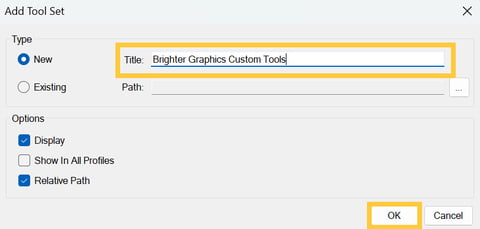
- Turning the “Display” option checked will make the toolset appear in the current profile.
- & Turning the “Relative Path” option checked will create a flexible link to your tool set file. If you move it to another folder in the future, the link will automatically be updated.
Tip: If you were importing a saved Tool Set, you would check the “Existing” option to activate the Path field, where you would choose the toolset from a saved location.
Step 5 – In the windows dialogue, choose your destination folder and “Save.”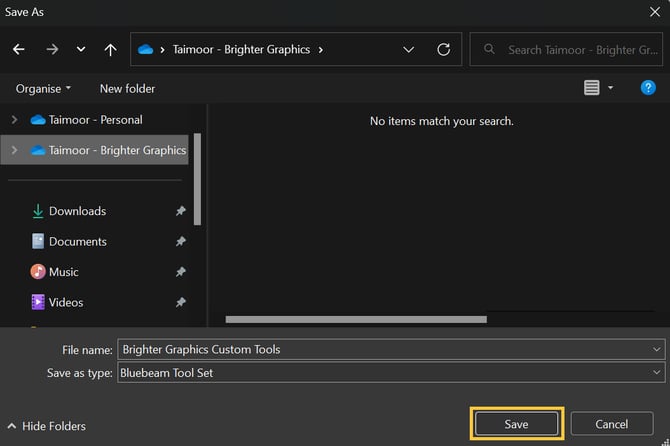
You’ll see the new toolset added to your Tool Chest.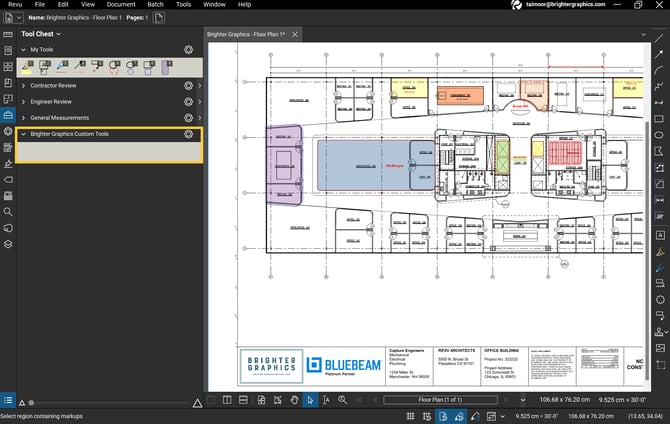
Adding Tools to the Custom Toolset
Now you can start adding your favourite or more frequently used markups to your custom tool set by
Step 1 - Right-click on your desired markup and select “Properties” from the context menu.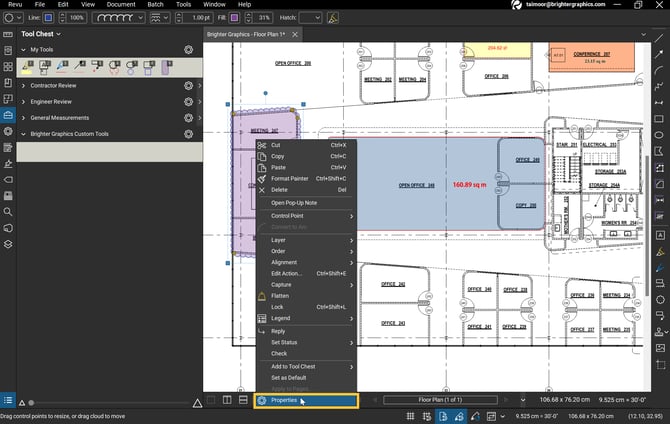
Step 2 - Click the "Add to Tool Chest" option in the Properties.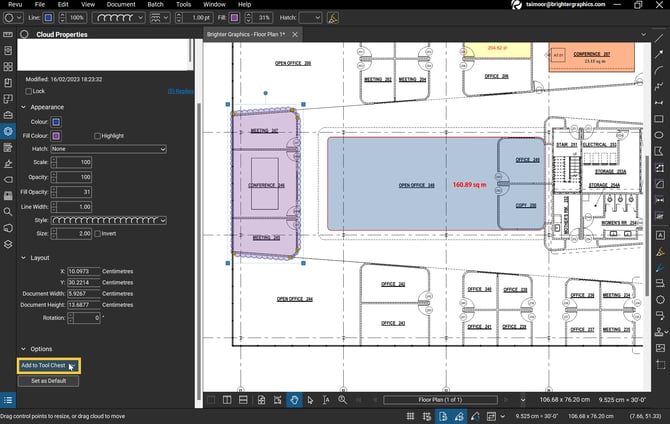
Step 3 – Select your custom toolset from the drop-down menu (“Brighter Graphics Custom Tools”).
Your markup will be saved in the destination tool set like the one below.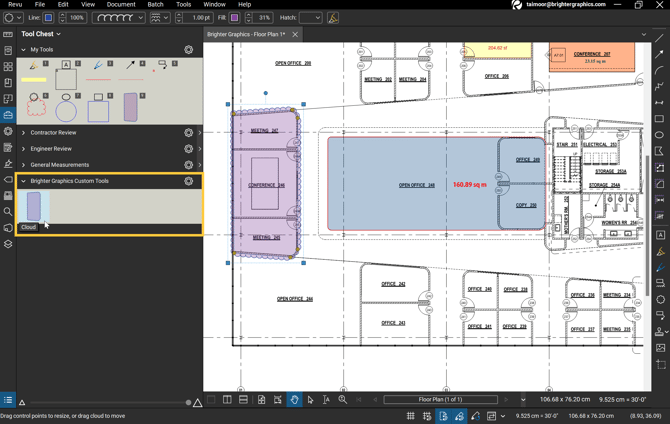
Tip: It’s helpful to ensure that your tools have detailed subjects and labels to clarify what tools you are using, as that information can also be seen in the tool sets.
For more Bluebeam Tips & Tricks, Tutorials, and How-to guides, explore Brighter Graphics and follow us on LinkedIn and YouTube.