


Understanding Revu Interface - Tutorial
This step-by-step guide will help you navigate and use Revu 21 Interface. Let’s explore some critical areas you can access and use in the Revu interface.
The main components in the Bluebeam Revu interface include the following:
- Menu Bar
- Navigation bar
- Panels
- Toolbars
- Properties Bar
- Main Workspace
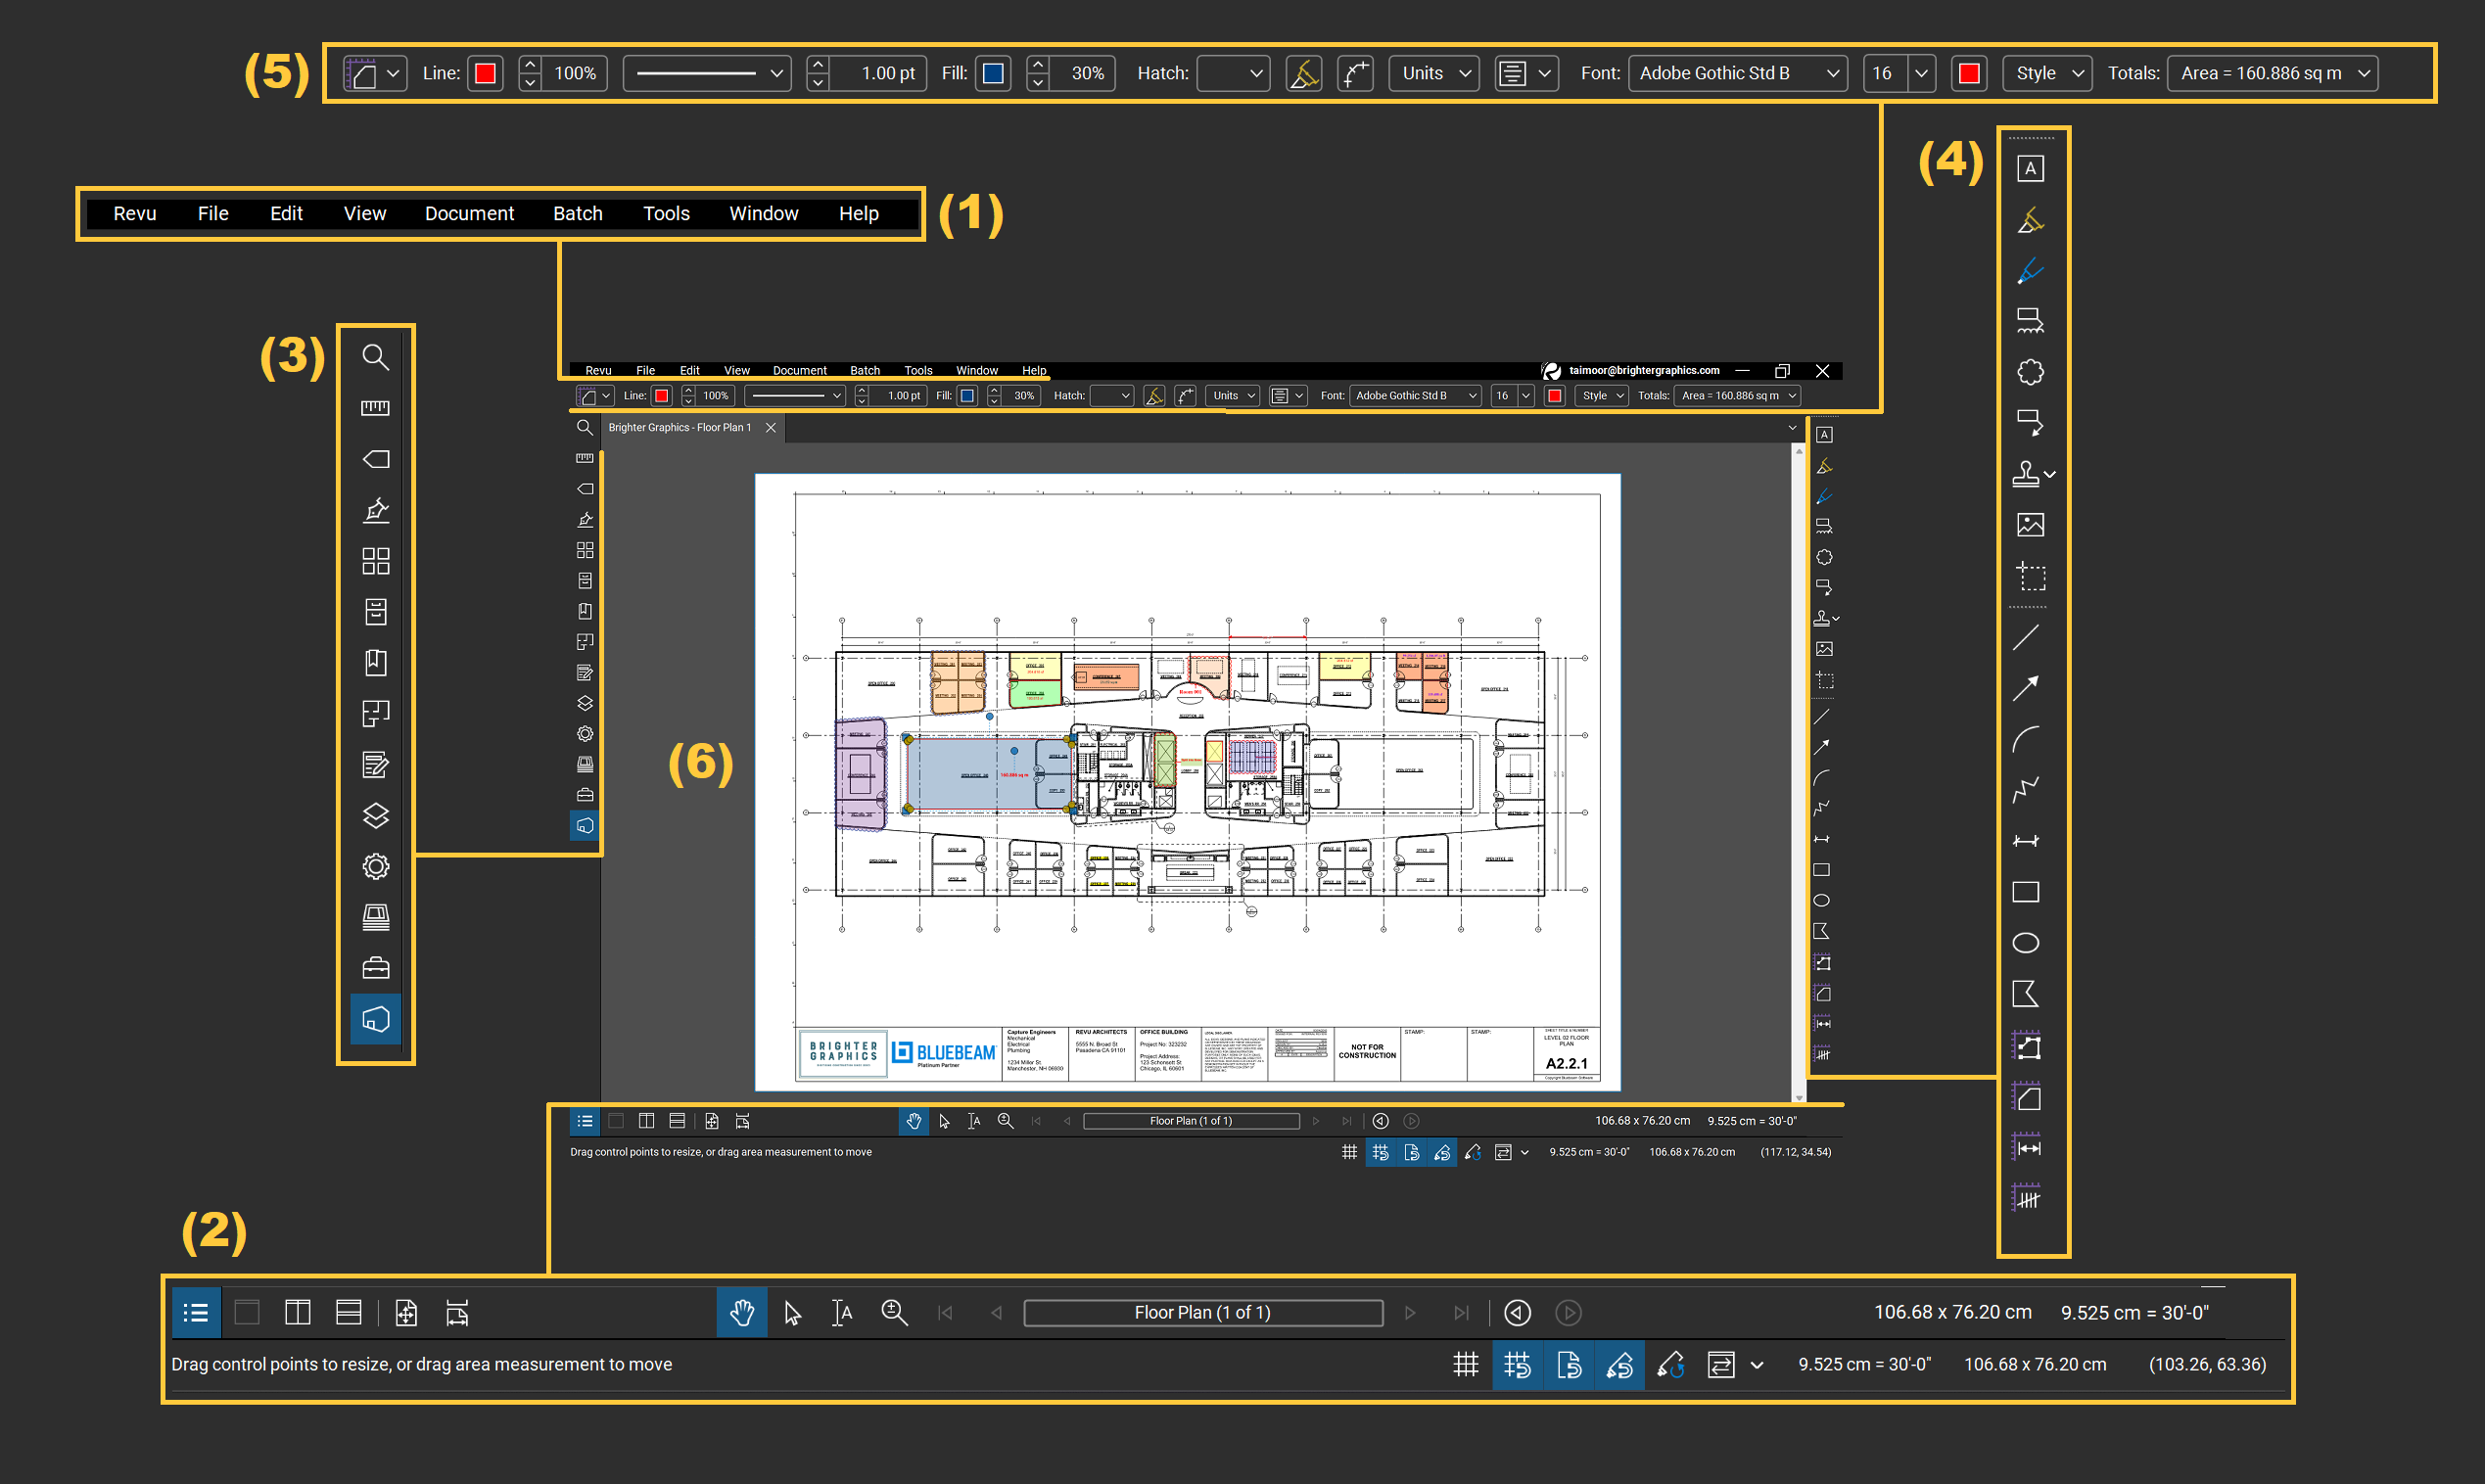
Let's explore all these sections in further detail.
(1) Menu Bar
In the Menu bar, you have 9 more options to choose from. It includes:
- Revu
- File
- Edit
- View
- Document
- Batch
- Tools
- Window
- Help
Let’s discuss each of these features in detail.
– Revu
In the Revu menu, you can personalise your Bluebeam Revu as per your preferences and feasibility. If you click on “Revu” to expand the dropdown menu, you will find the following options.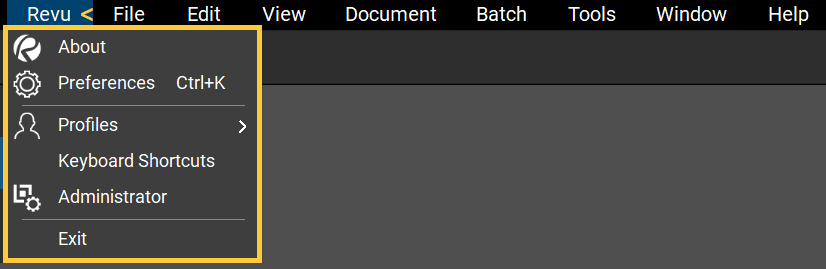
- Select “About” to see which version of Revu is installed and the Serial Number for your installation.
- Select “Preferences” to change the default settings and personalise Revu for your use.
- You can import settings from another team member or export your preferences for others to use.
- Select “Profiles”. For beginners, “Revu” is the profile to start with. You can choose a different profile or personalise your profile as necessary.
- Select “Keyboard Shortcuts” to view the built-in shortcuts in your version of Revu. You can import keyboard shortcuts shared by another team member or export yours for them to use. Revu also provides you with keyboard shortcuts to further increase your workflow efficiency. Keyboard shortcuts are displayed on the right side of the menus next to each command. For example, you can quickly open the “Preferences” dialogue window by holding the “CTRL + K” keys. You can also customise your shortcuts by going to the “Menu” bar clicking on “Revu” and selecting “Keyboard Shortcuts”.
- The “Administrator” option allows you to select where the Bluebeam Printer plugin is installed and change the associated settings for the plugin.
- The “Exit” option allows you to exit your Revu session.
All options in the “Revu” menu are global settings that will affect your installation of Revu.
– File
The File menu contains the commands to create new files, work with templates, open files, print, or save different files. 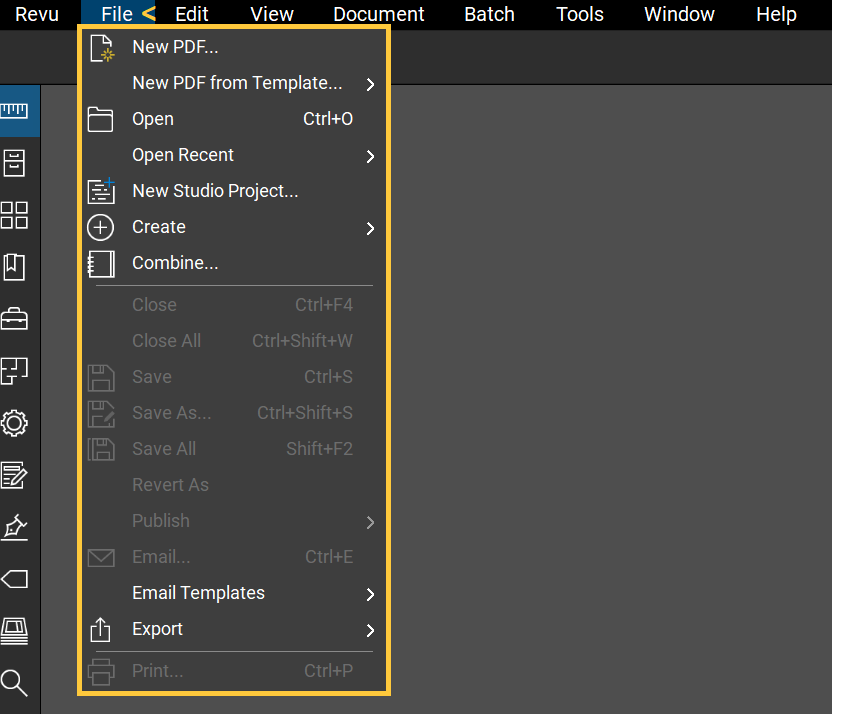
– Edit
In the Edit menu, you can find “Undo”, “Redo”, “Copy” and “Paste” options. You can also find options to decide how your cursor will behave during selection, panning, or other ways of interacting with objects or the file. In the Edit menu, you can also find options to edit your content.
– View
The View menu contains commands to change the appearance of your workspace. You can choose how you view the page or even split the view. The “Synchronise” and “Snap To” (Grid, Content, or Markup) options are also available in the View tab.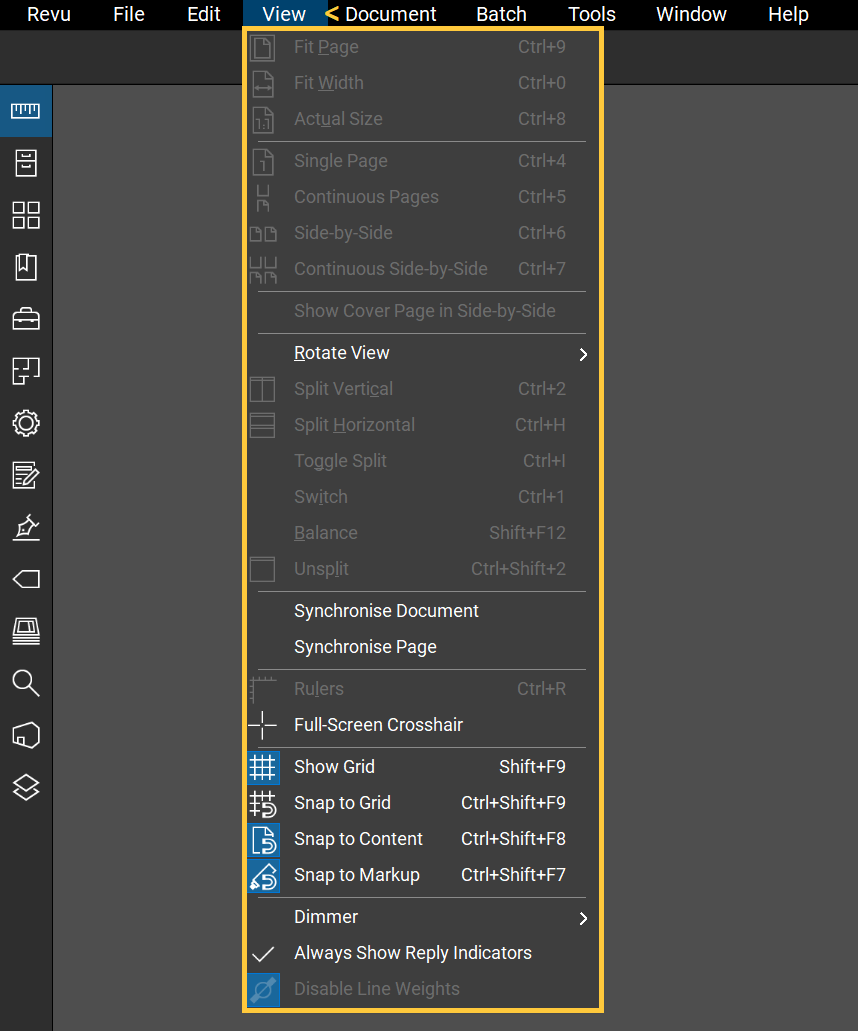
Note: You can also access the “Snap to” options directly from the navigation bar.
– Document
The Document menu features tools that often affect the entire document, such as “Security”, “Flattening”, and “Headers and Footers”. In the menu, you can add or extract pages and compare different versions of documents.
Learn more about how to use Multiview to compare different versions of the same document in Revu 21.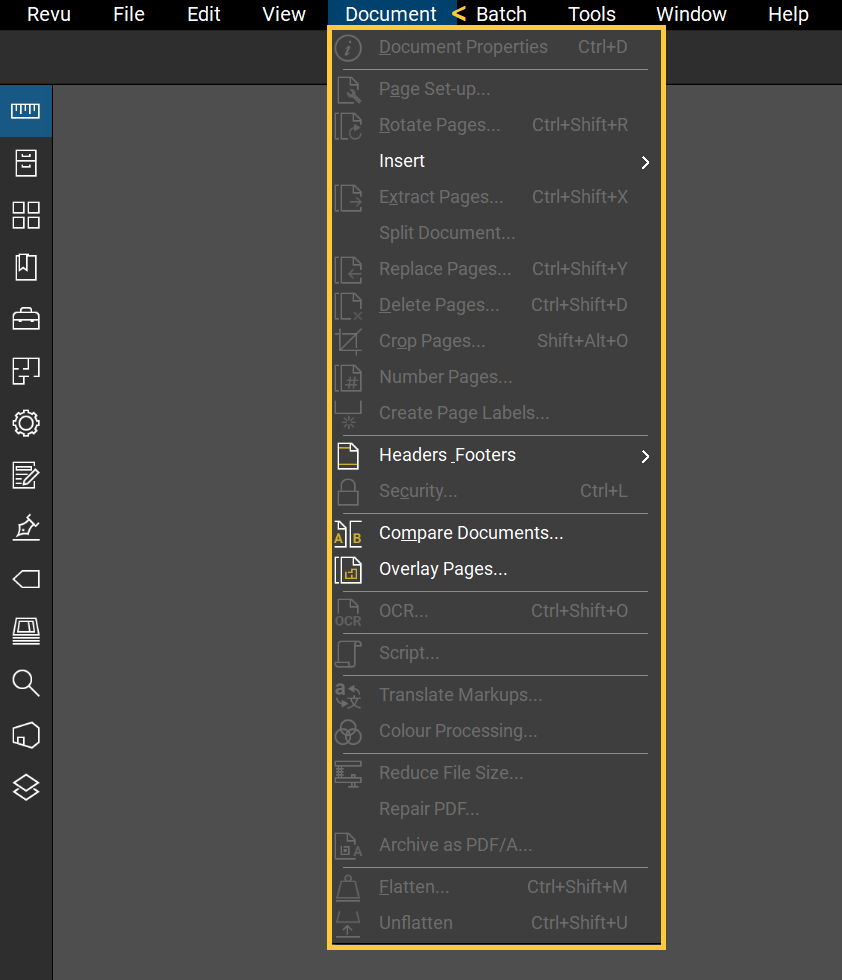
– Batch
In Bluebeam Revu, the Batch function allows you to process multiple files simultaneously with the same set of actions or commands. It can save a lot of time and effort when you need to implement the same scenario for a large number of files.
With the Batch function, you can perform various actions, such as hyperlinking multiple files, resizing pages, adding headers & footers, applying security settings, flattening markups, signing or sealing batches of files, running scripting commands, and all other functions available in Document tab that can be implemented on the batch of files.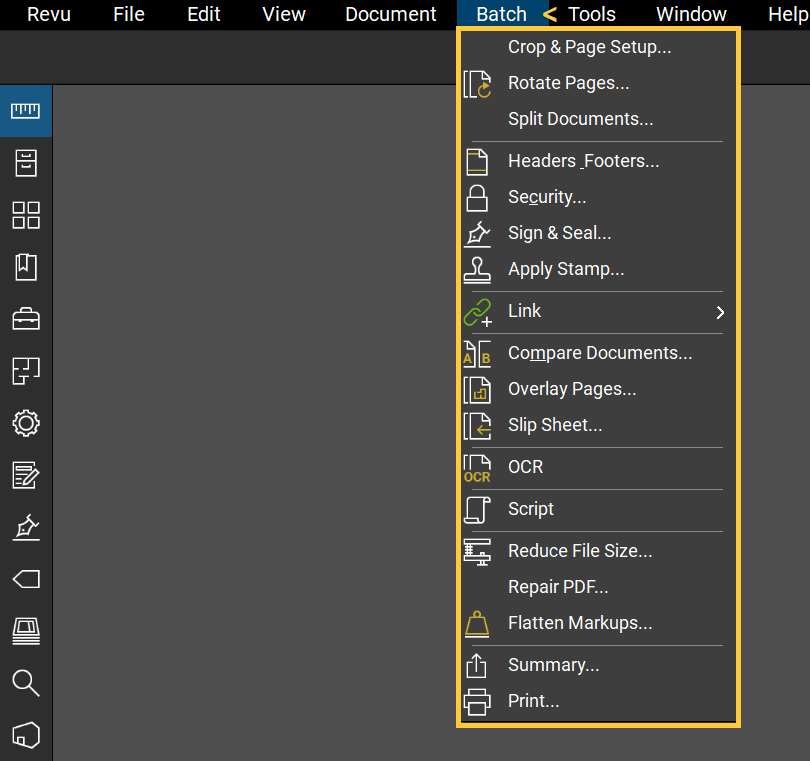
The following Batch features are offered in the designated Revu 21 packages.
- Batch compare multiple drawing revisions (Available for Revu Core & Complete Packages)
- Automatically create navigational hyperlinks across a specific group of documents using Batch Link® (Only for Revu Complete)
- Batch process hyperlinks for large document sets (Only for Revu Complete)
- Automatically insert new page revisions or replace current pages with new revisions across multiple documents using Batch Slip Sheet (Only for Revu Complete)
- Apply a digital signature and professional seal across a batch of multiple files (Only for Revu Complete)
- Implement scripting commands (Only for Revu Complete)
– Tools
The Tools menu includes all the tools you might need for markup measurements, sketching and signatures and the toolbar options to show or hide toolbars as necessary.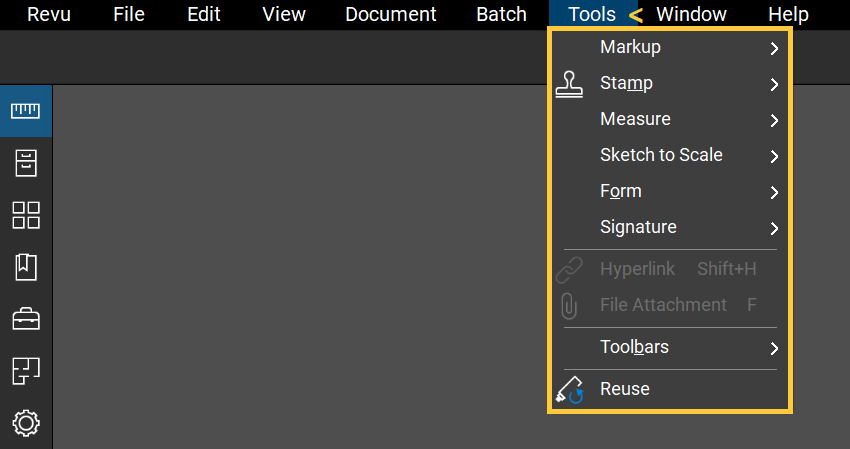
– Window
The Window menu includes the option for controlling the Main Workspace area.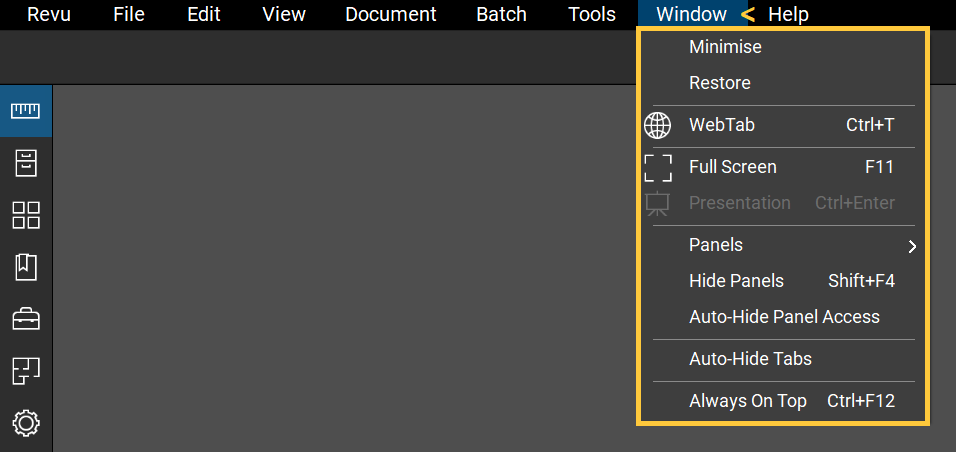
– Help
The Help menu contains many buttons that lead to help and other resources. You can locate Technical Support, report an issue or a suggestion, and find tutorials on how to use Revu.
(2) Navigation Bar
At the bottom of the Revu window is the “Navigation Bar”, which significantly accelerates your workflow. It enables efficient and quick transitions between pages and navigating the opened PDF.
Navigation Bar > Markups List
At the bottom left corner of the Navigation bar, you can find the “Markups List” icon to view, manage, or annotate all your Markups.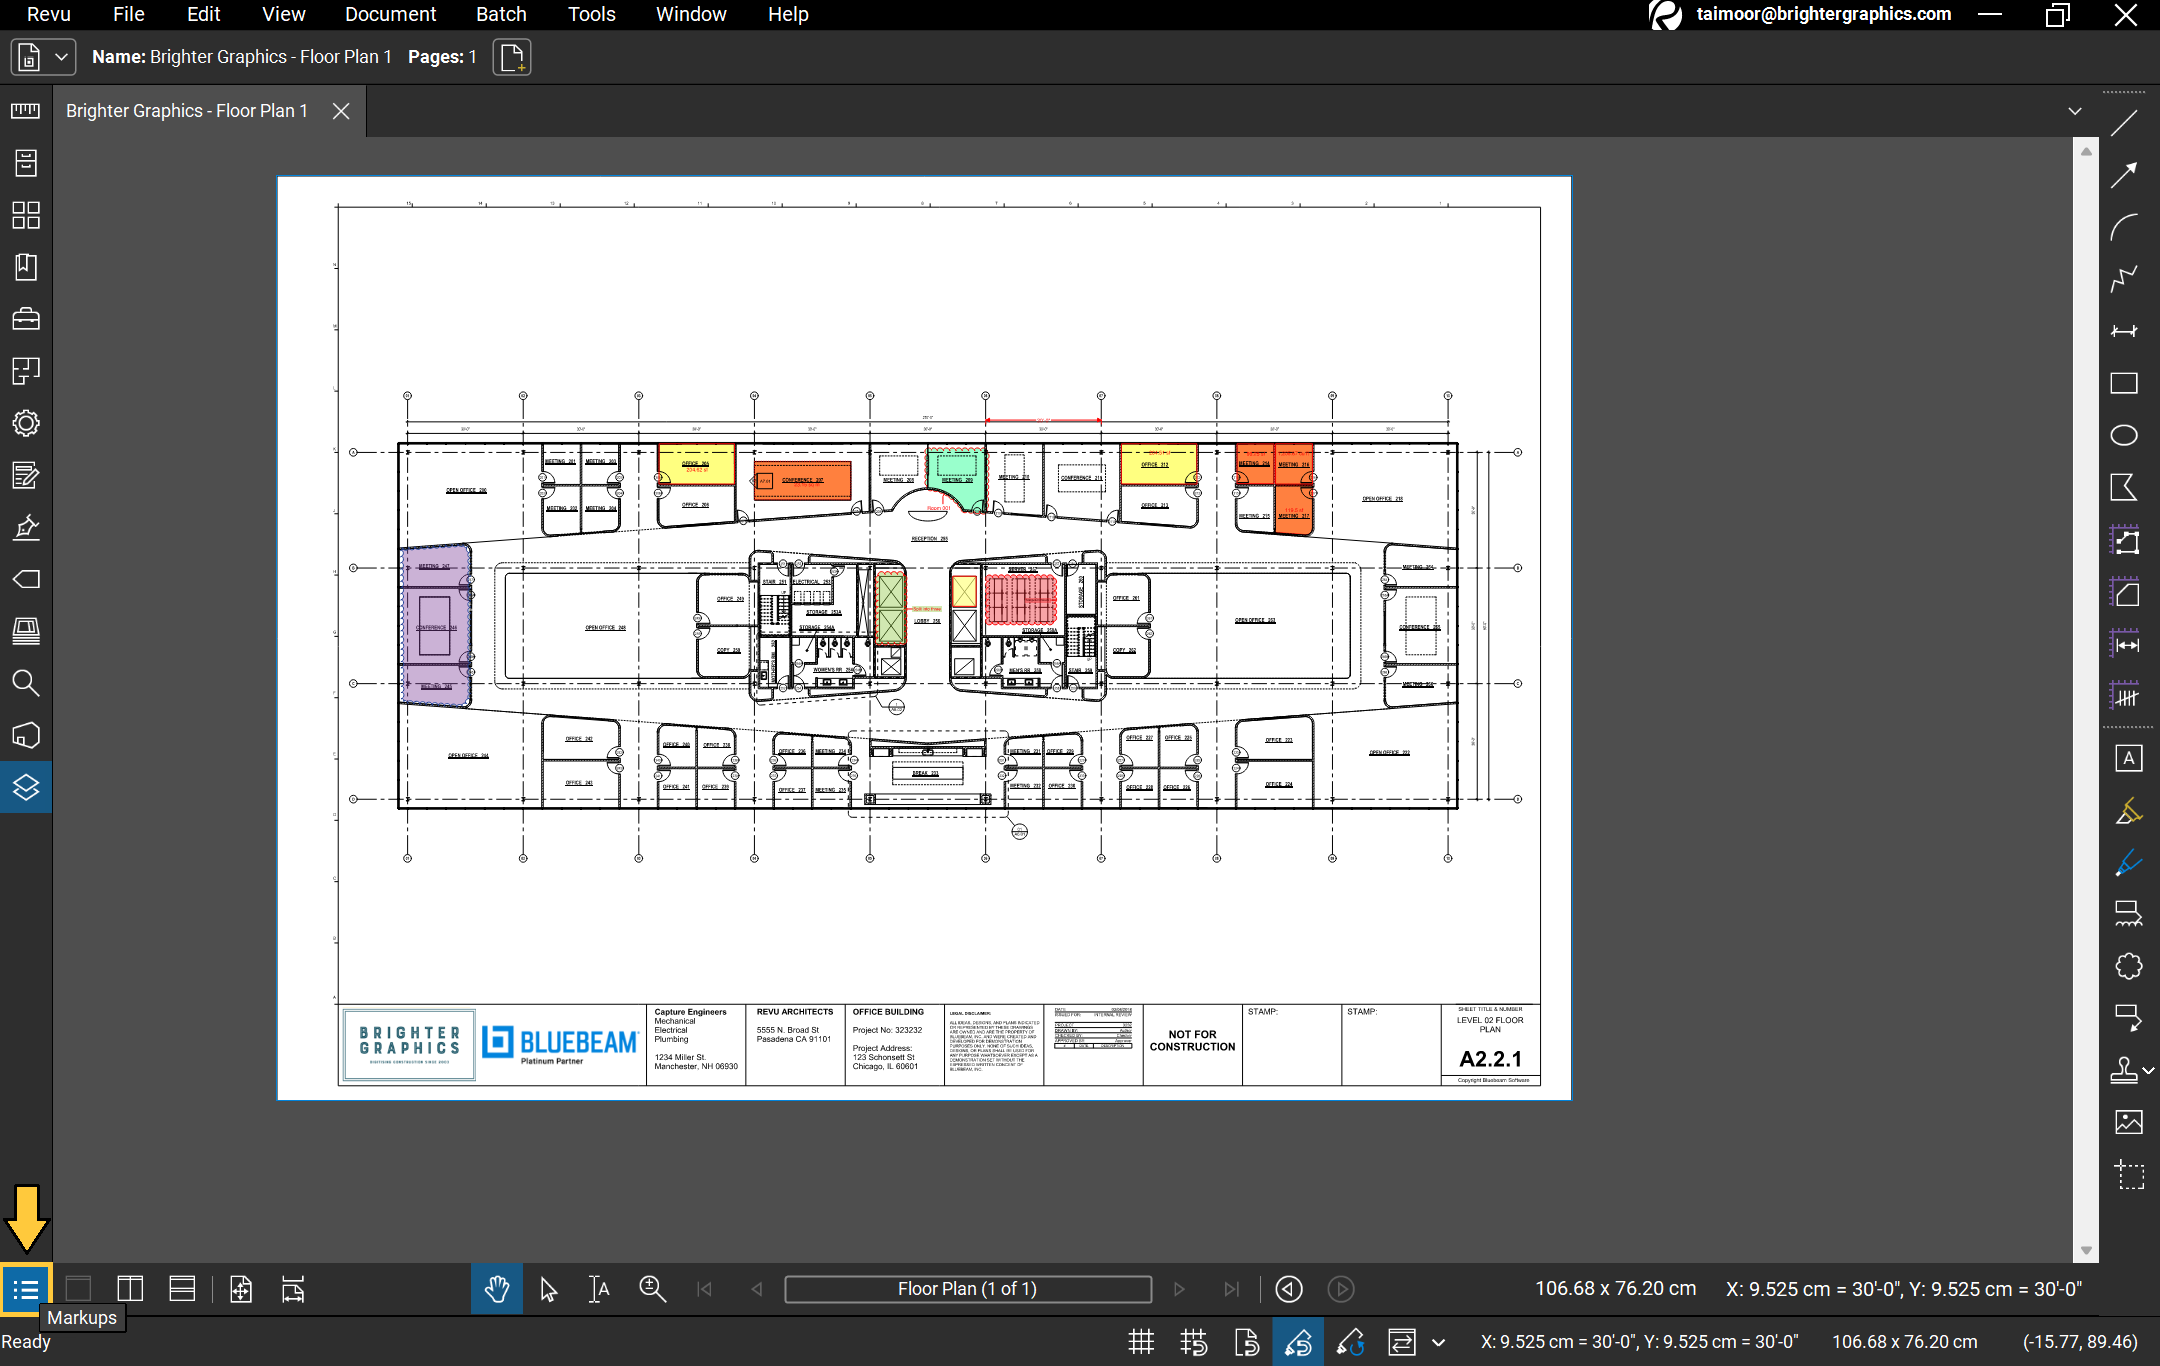
Clicking the Markups List icon will expand the Markups List.
Markups List Expanded
(3) Panels
The Panels section is aligned on the left side of the Main Workspace. It contains most of the functionalities and options you will use in Revu. Clicking on the individual icons expands their associated panels.
To control how wide the panels are, hover over any random edge of the panel, and the cursor will change to a resize option, allowing you to drag the panel inward and outward.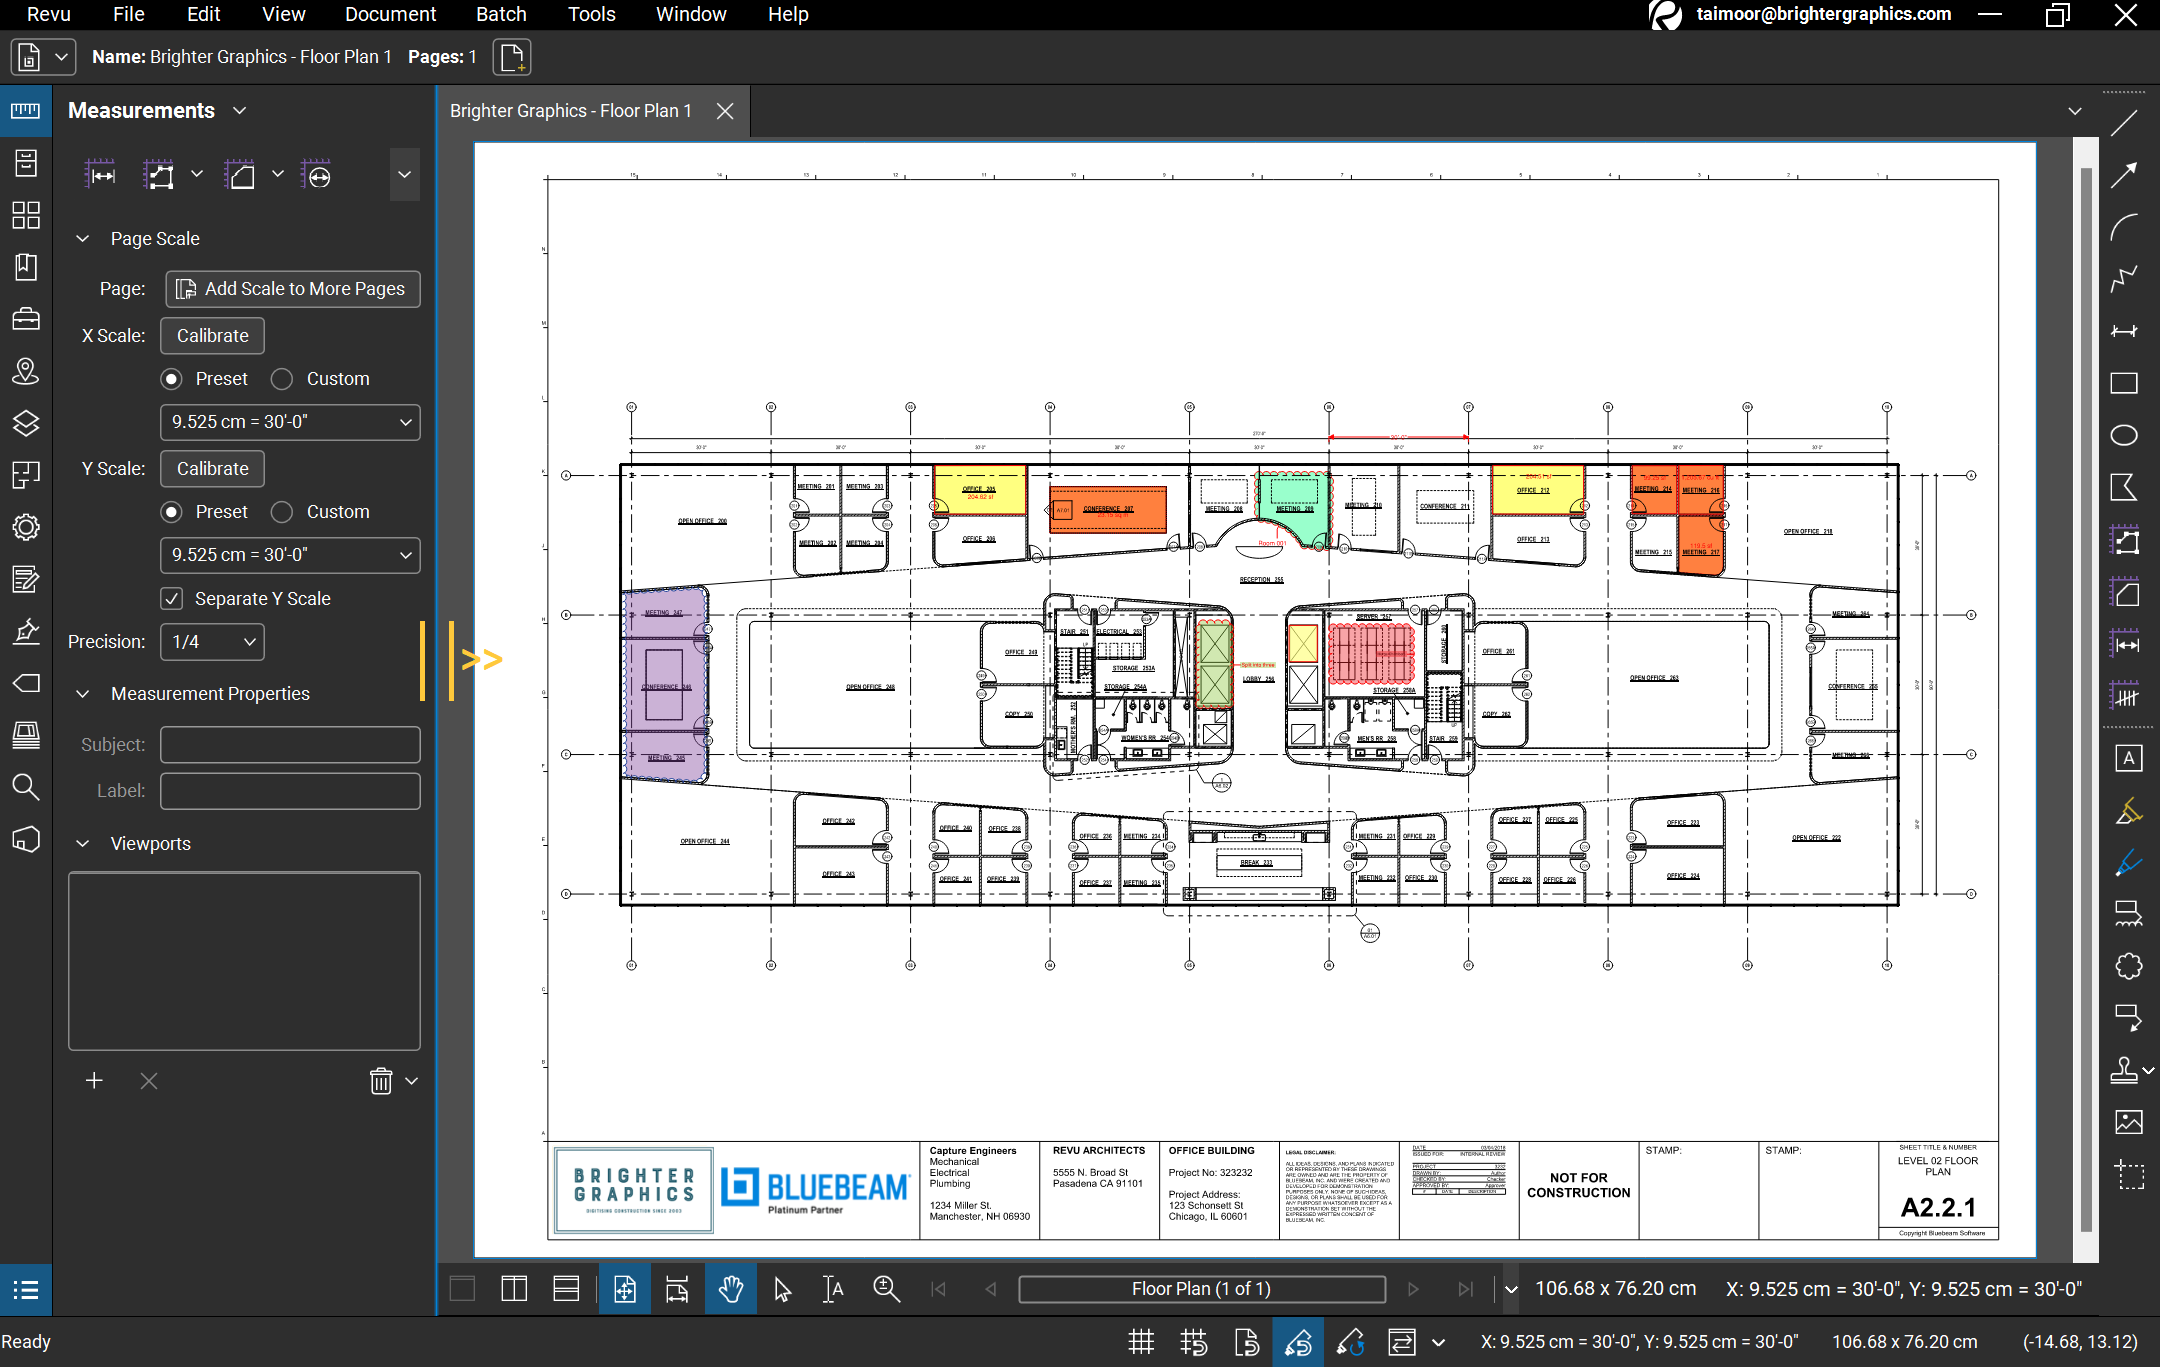
To hide a selected panel, right-click on its icon and click the “Hide” option from the flyout menu.
Hiding the Layers Panel
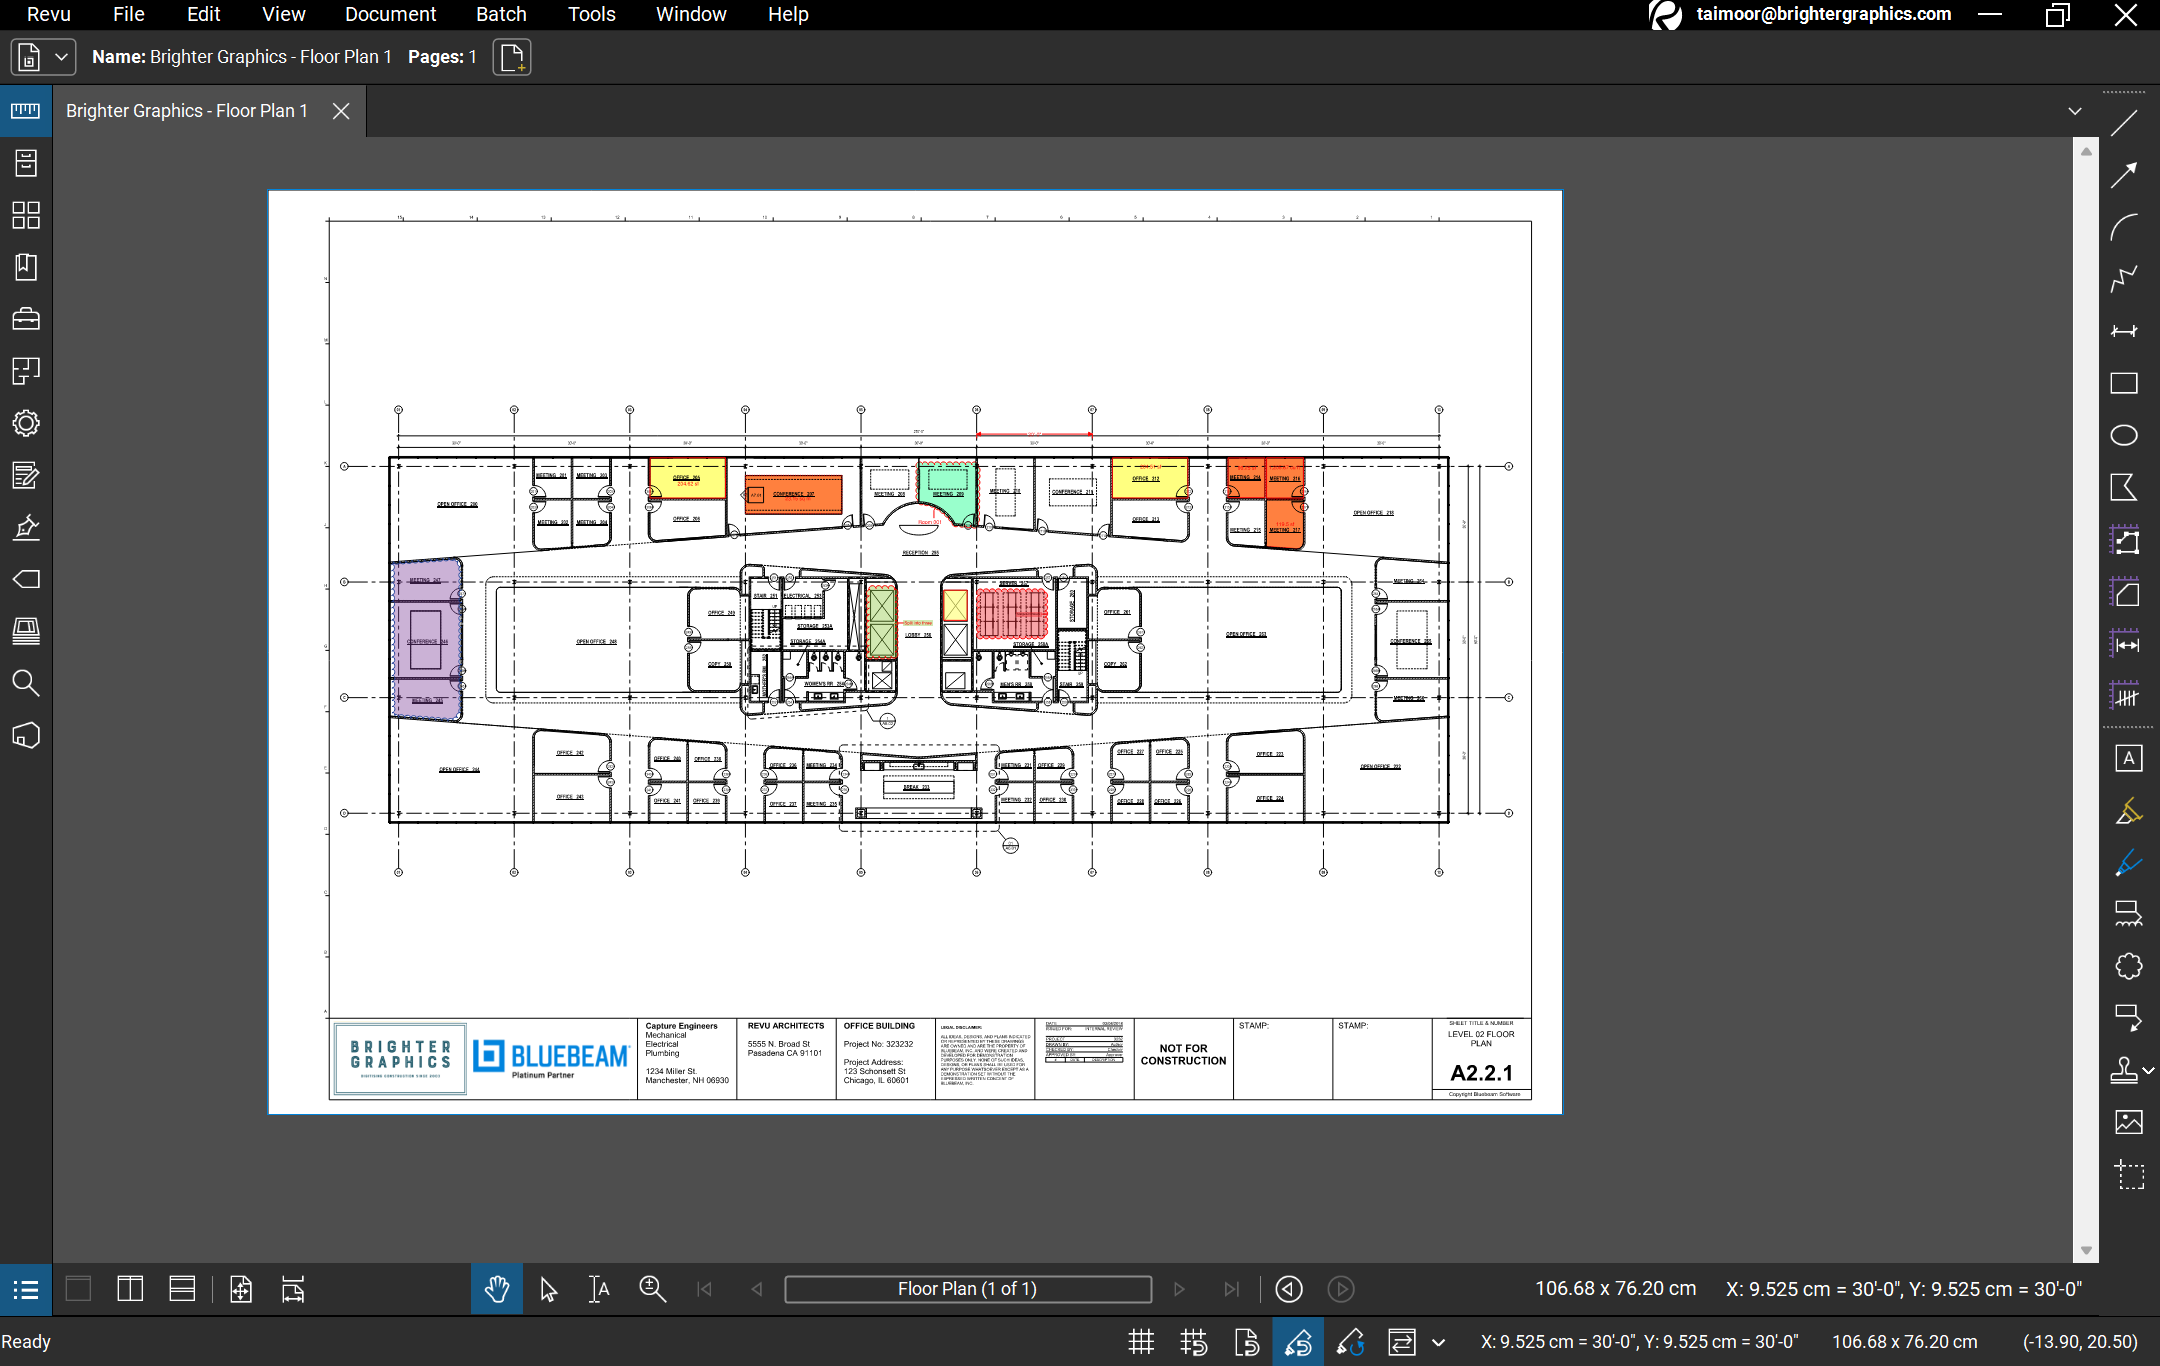
The layers panel disappeared(Hide)
To show hidden panels, right-click on the empty area on the Panel bar > From the menu, click “Show” > Click the panel you want to make visible (e.g., Layers).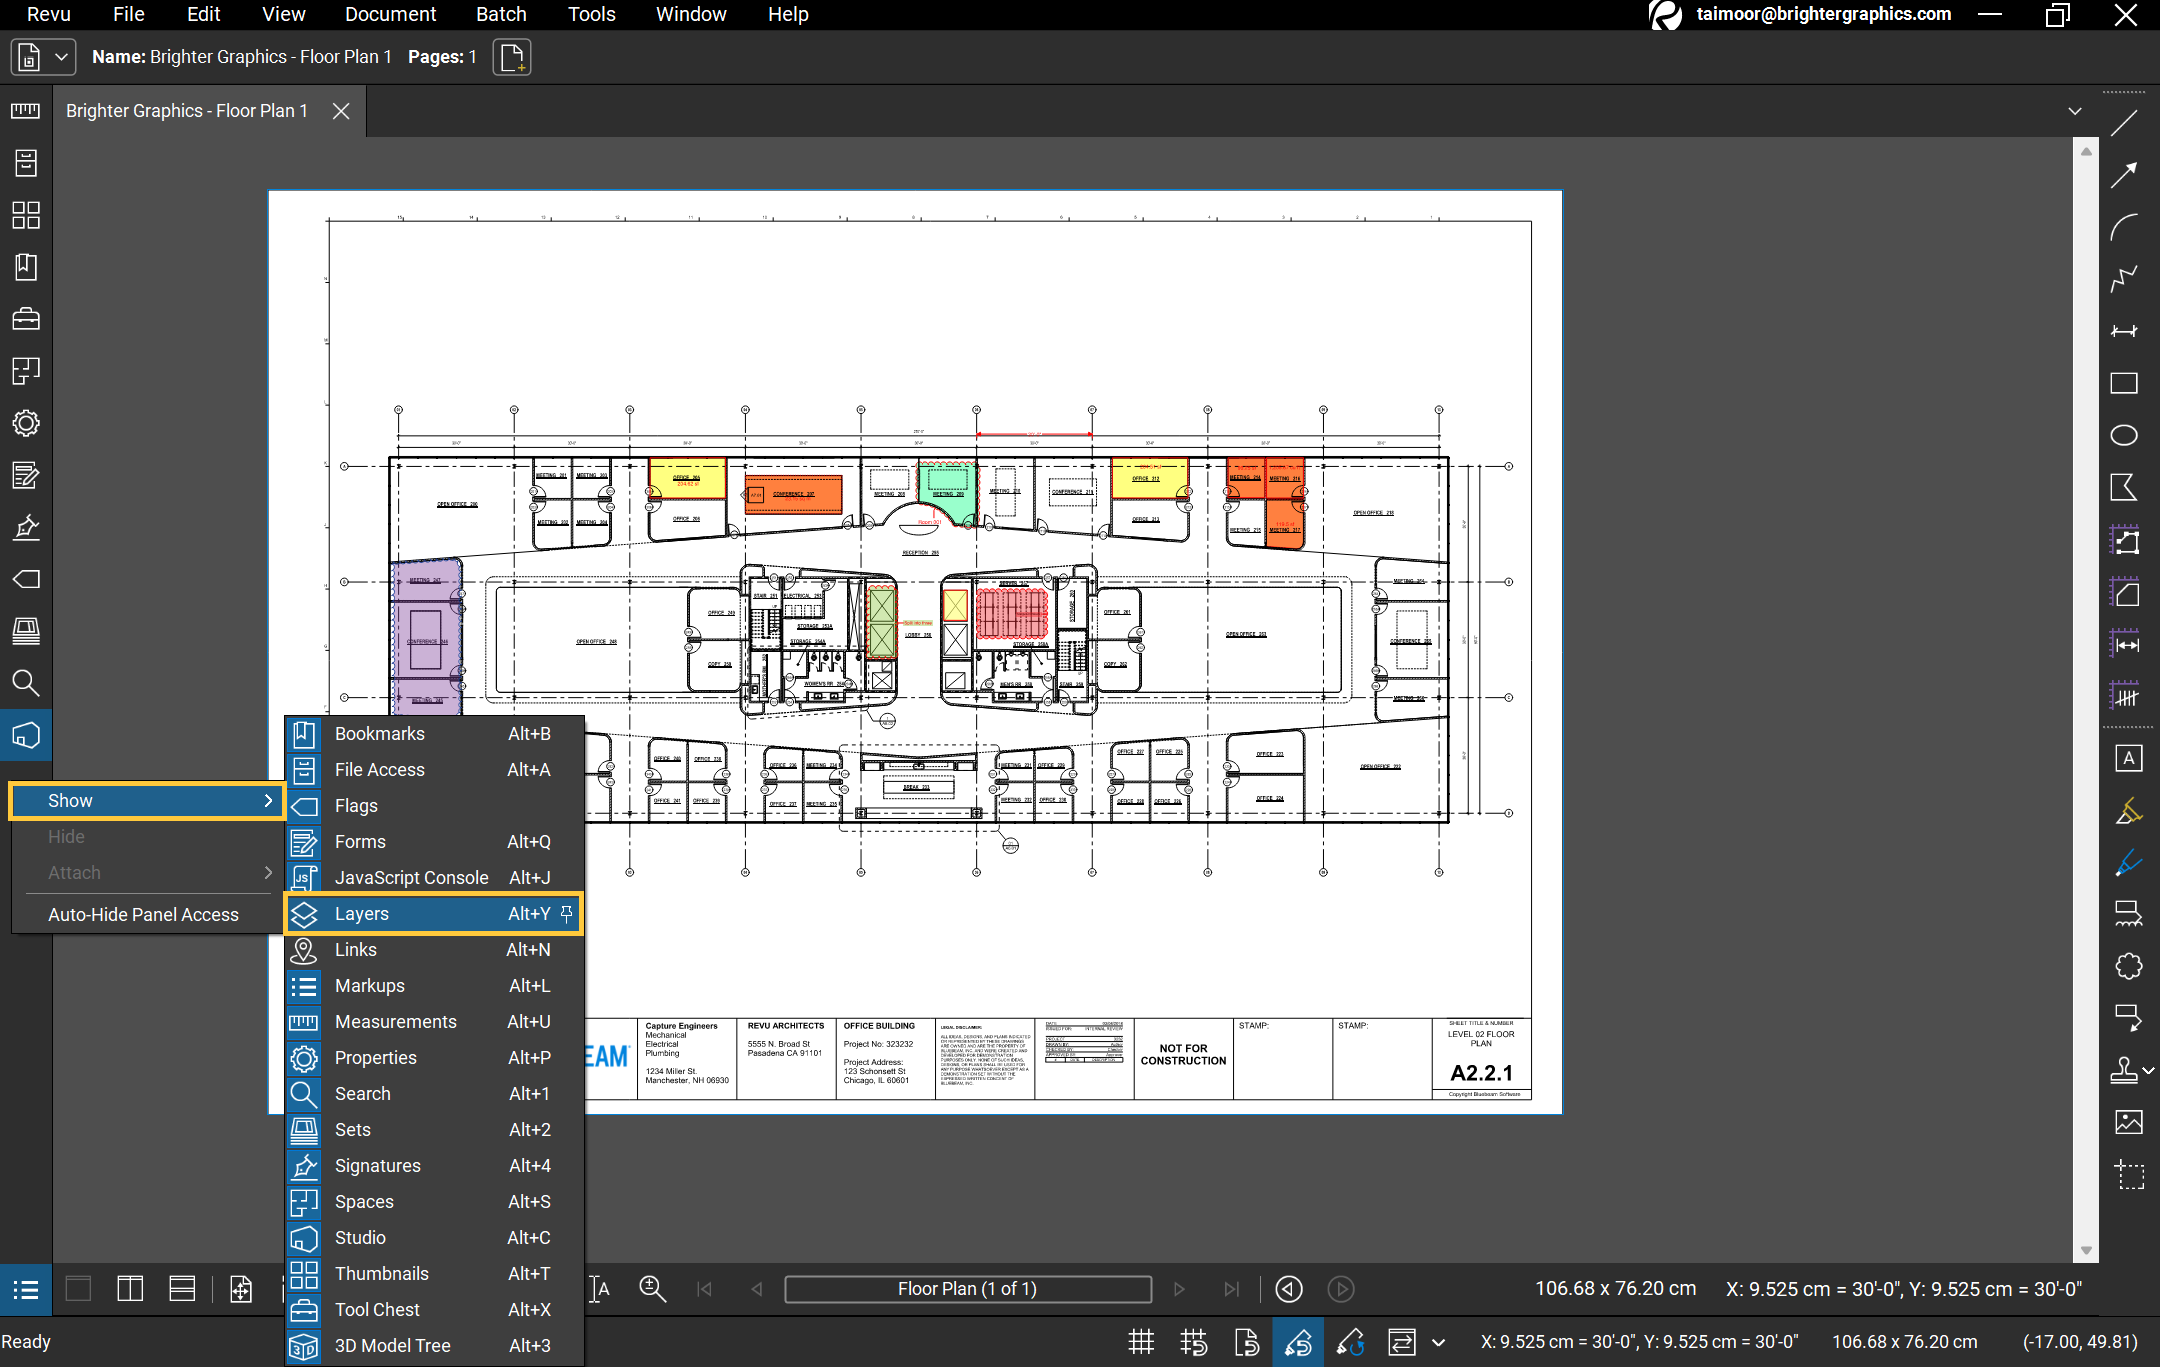
Making the Layers Panel visible (Or use mentioned shortcut keys to turn the respective panels visible)
The Layers Panel turned visible.
You can also attach a panel to a different side by clicking and dragging it to the other side.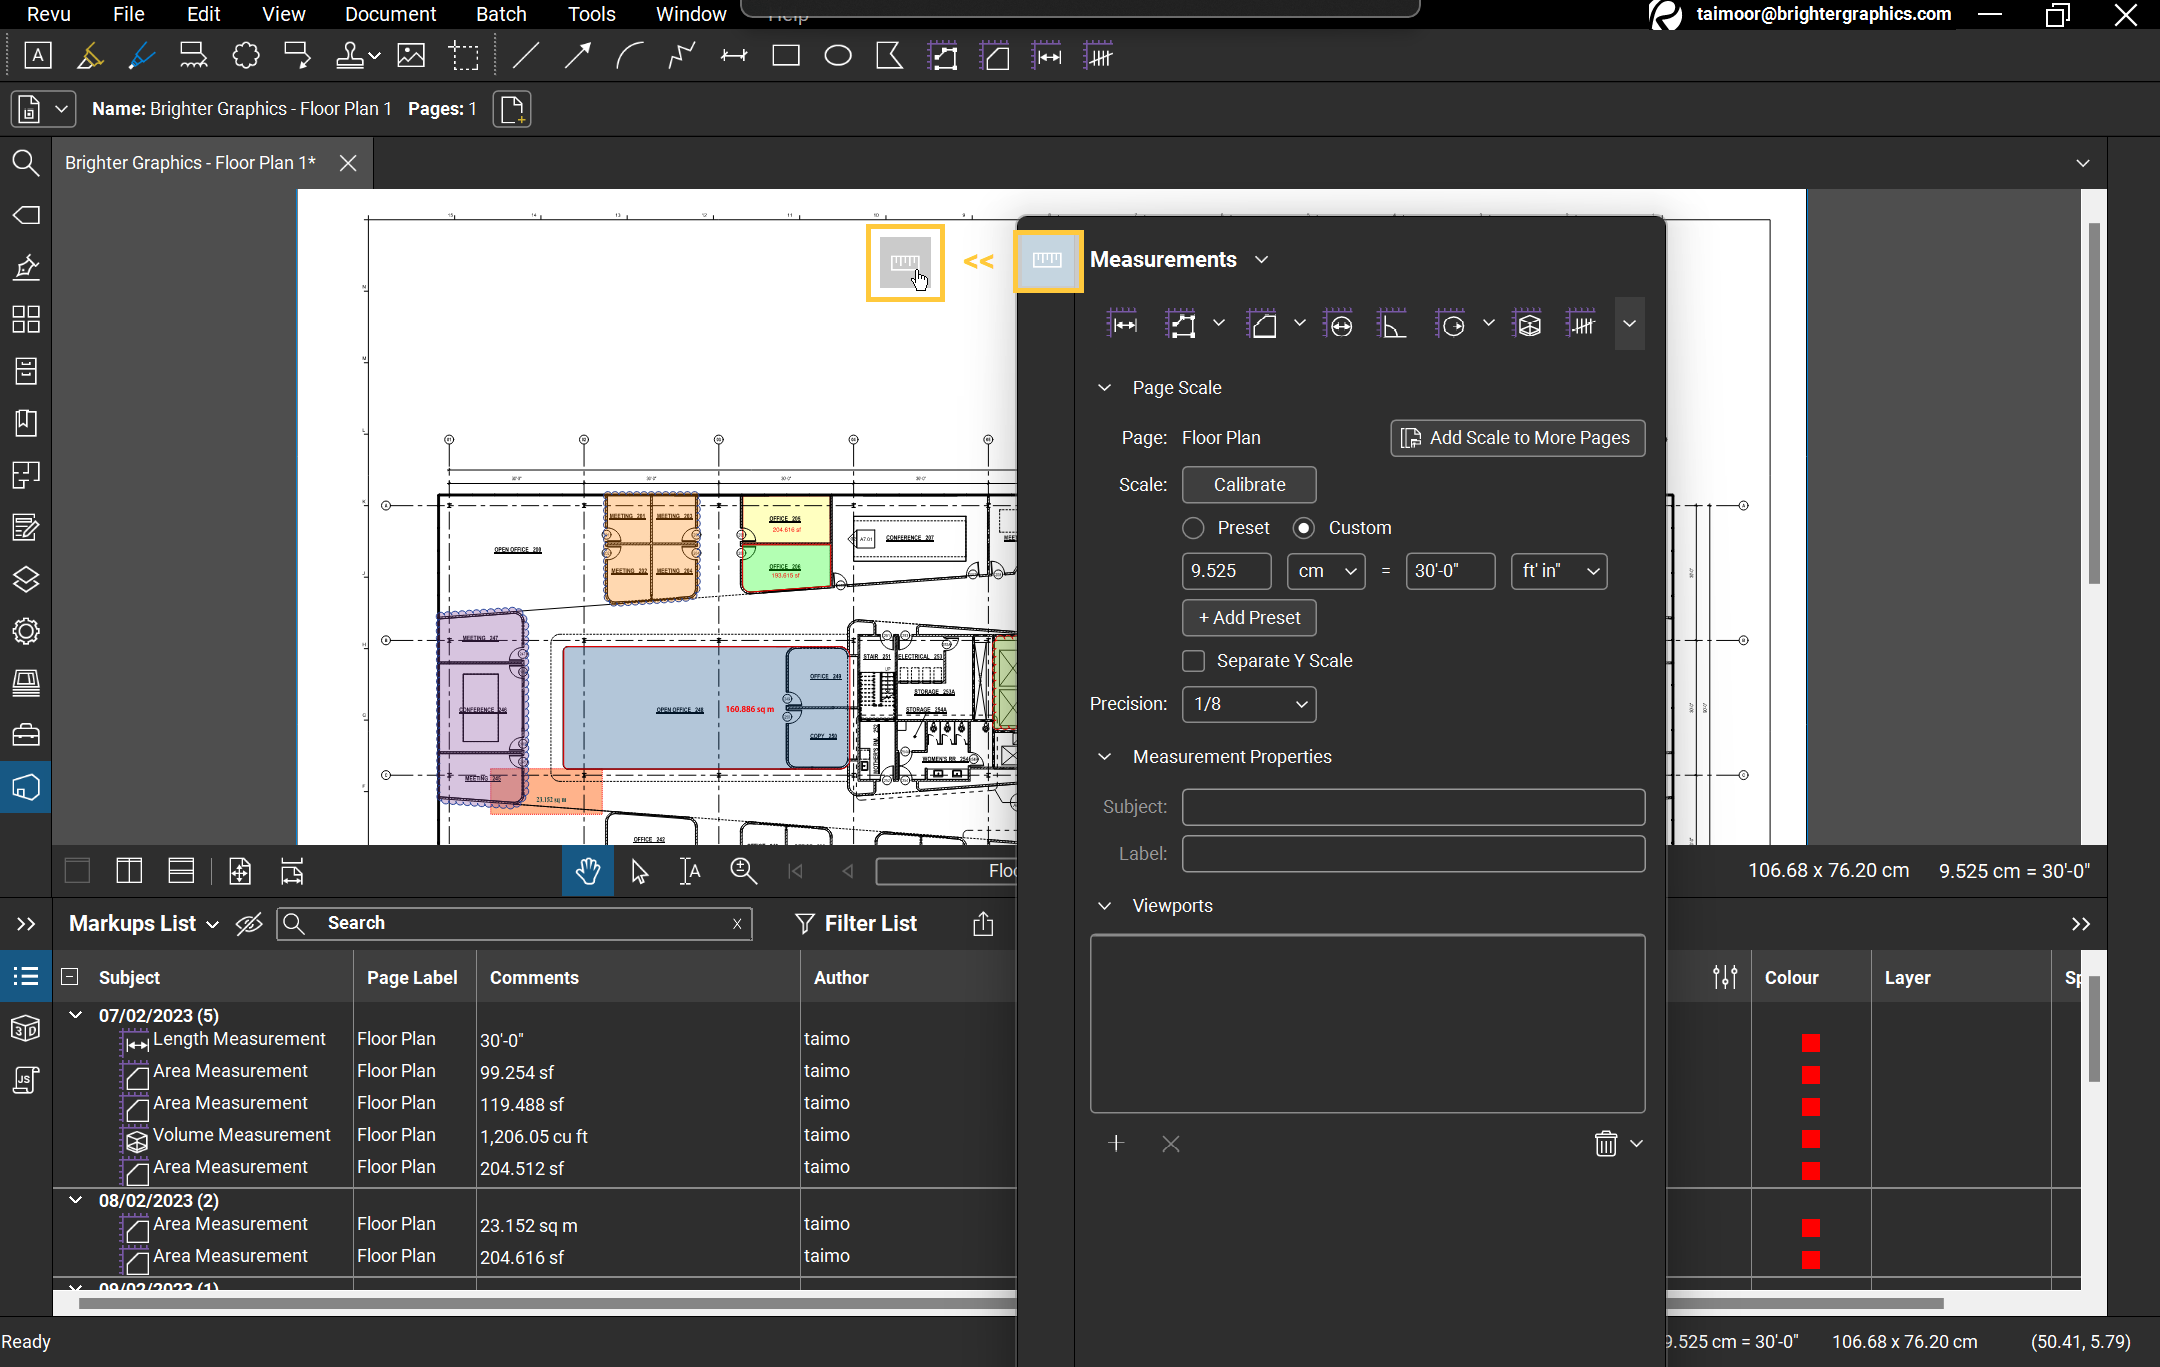
“Example: Dragging the Measurement Panel to Relocate
(4) Toolbar
On the right side of the application, you will notice your Toolbar. The tools you see here are the same ones in the Tools menu of your Menu bar. The toolbar allows you to access the tools with the click of a button.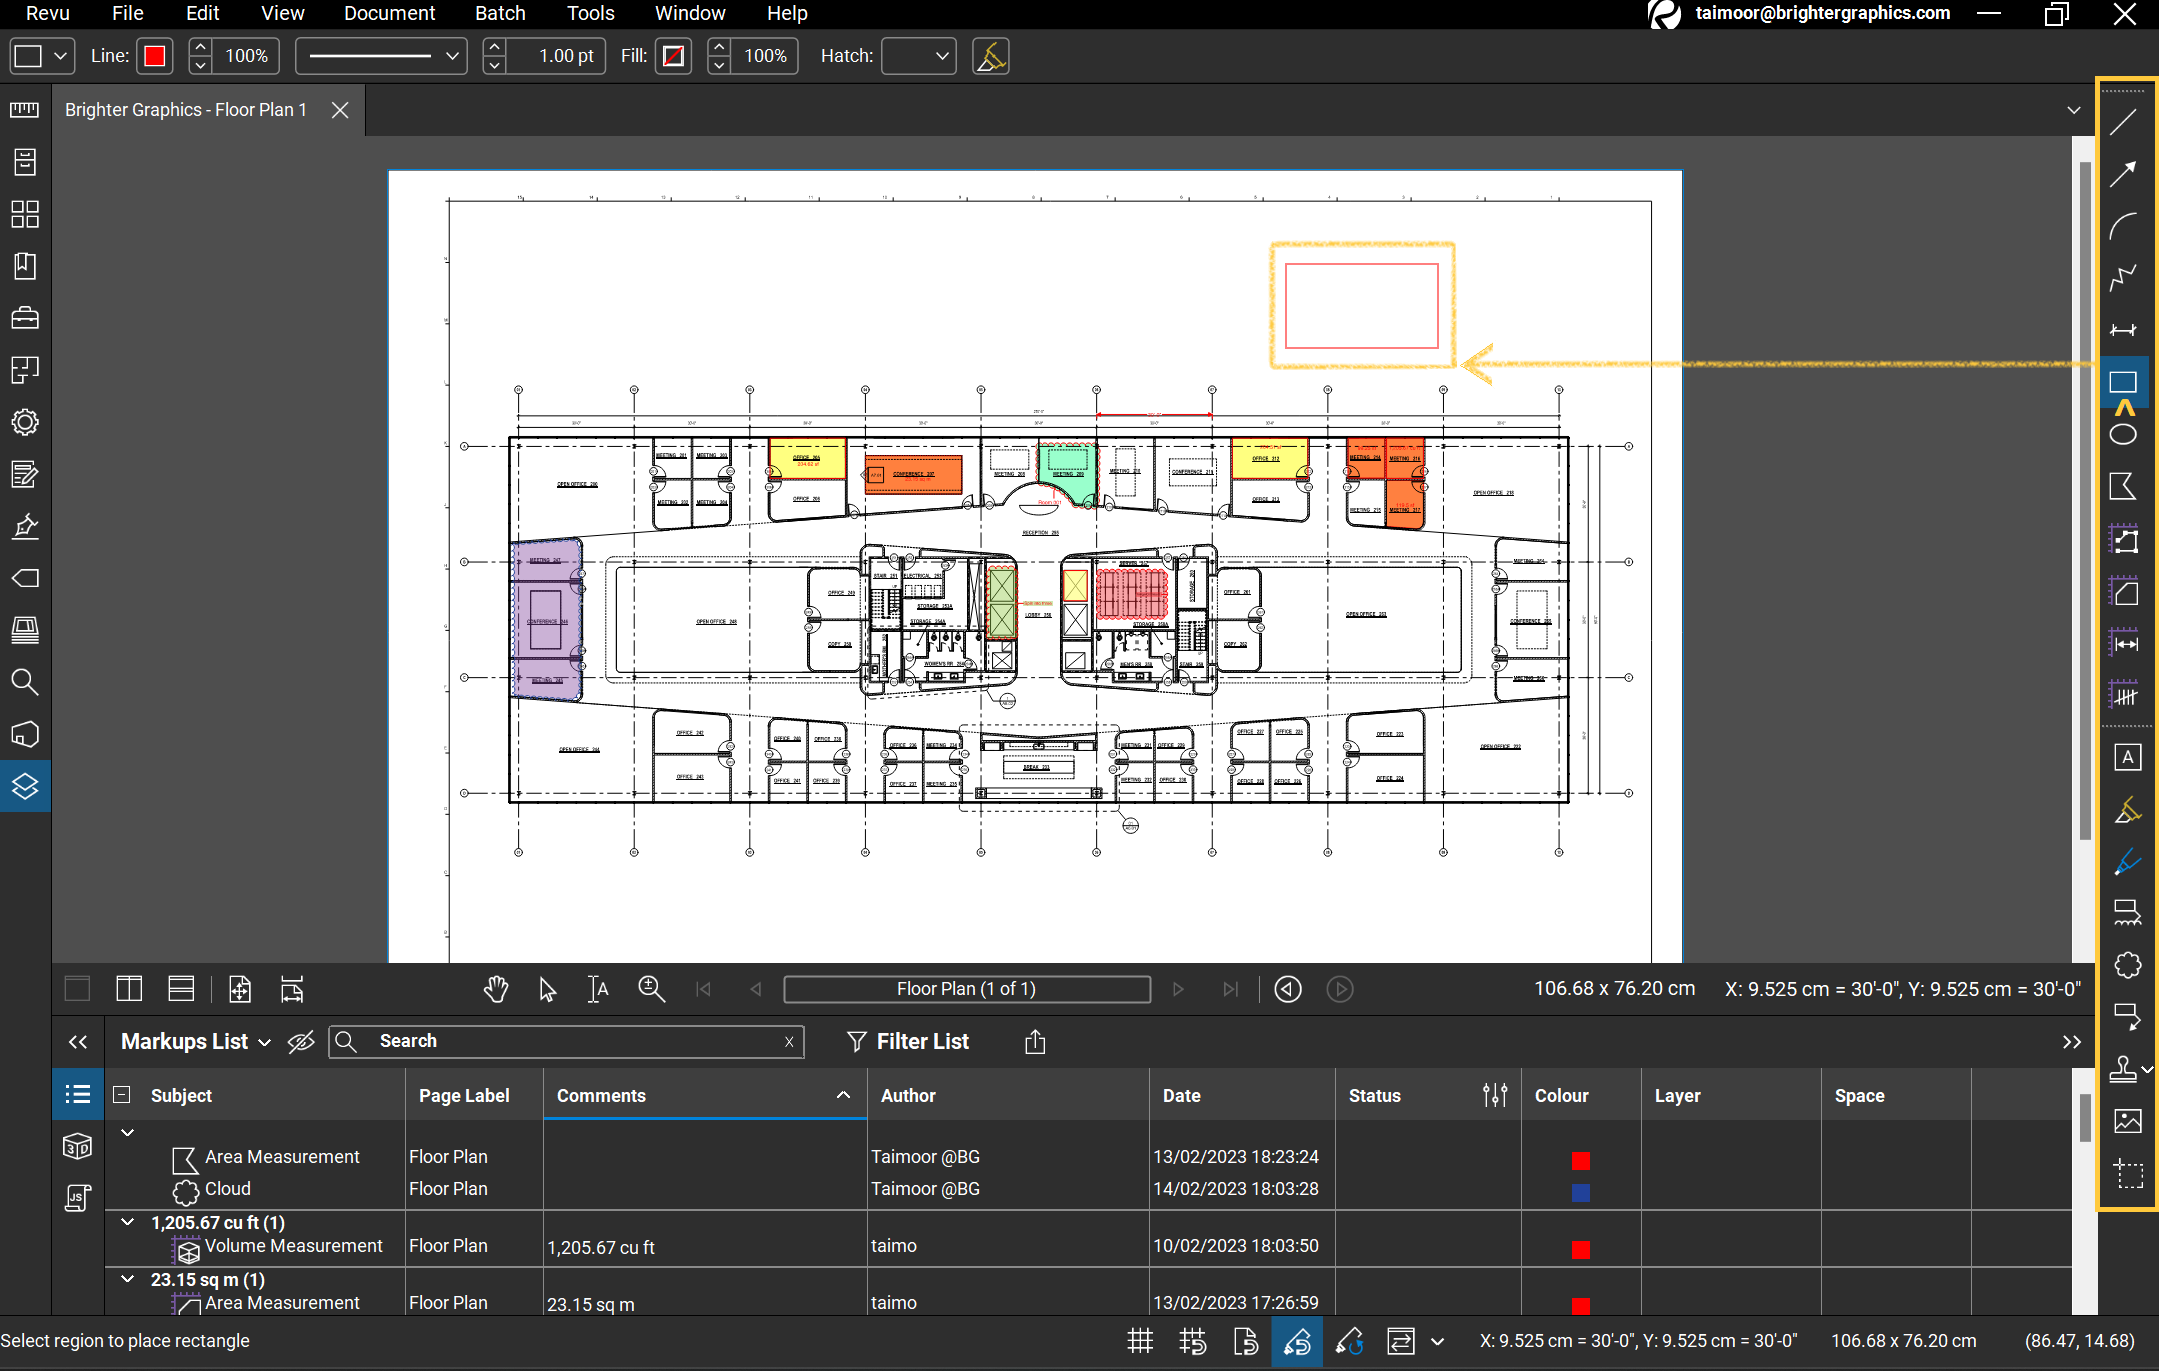
Note: You may see different Tools with default settings depending on your Revu profile.
You can go to “Tools” in the Menu bar and hover your cursor over the “Toolbars” option from where you can Show or Hide any toolbar from the selection. Selected toolbars will appear under the Menu Bar at the top.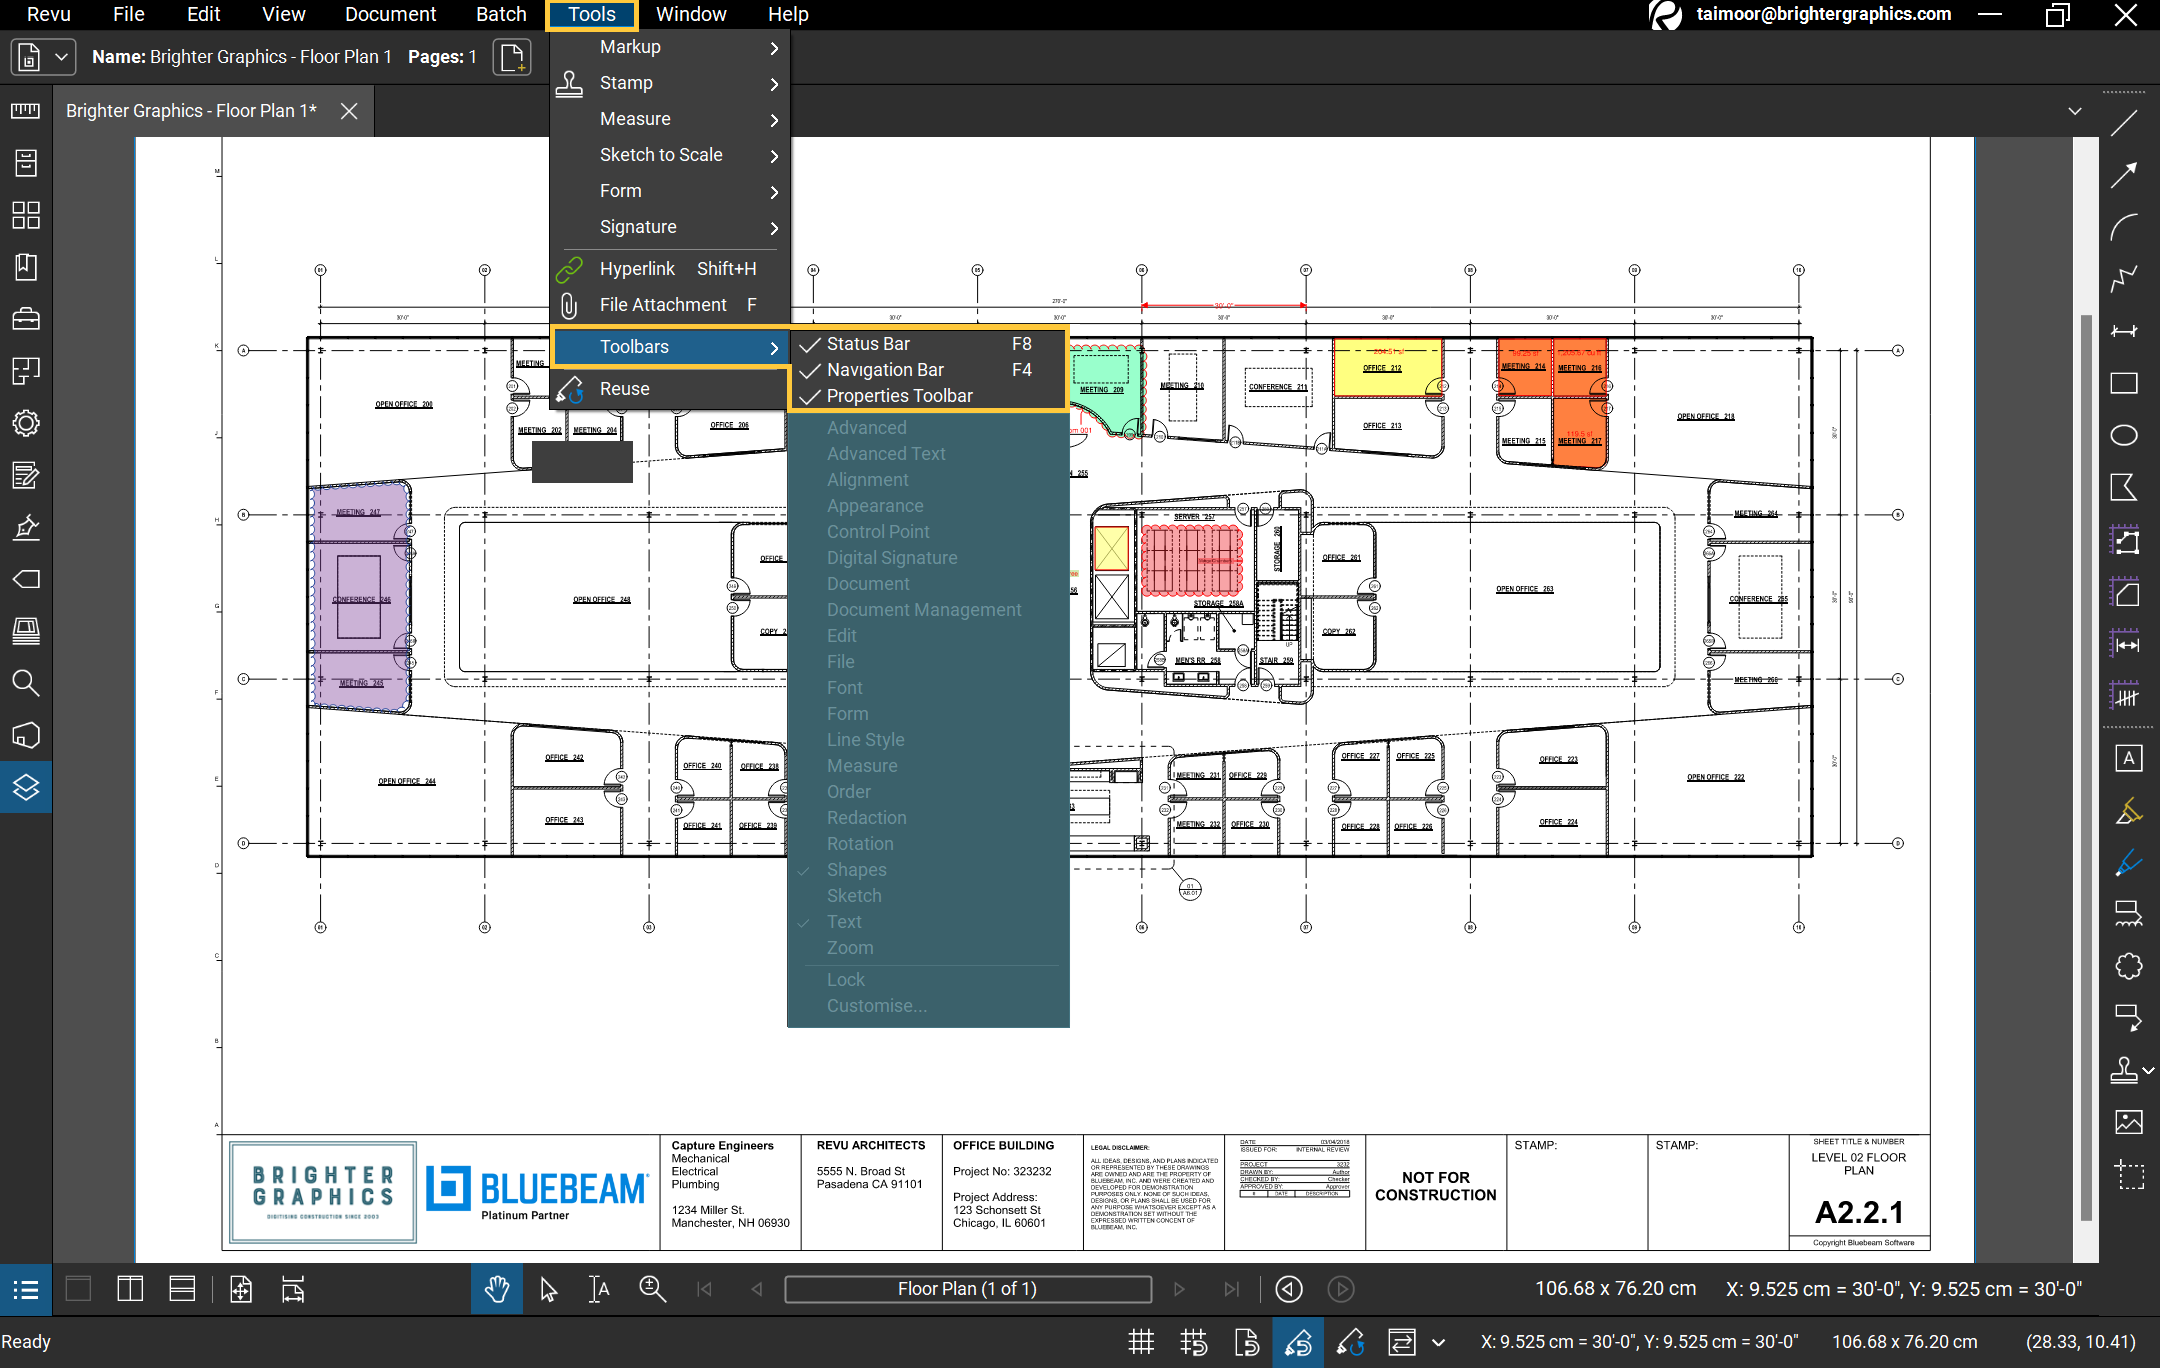
The top three options Status Bar, Navigation Bar, Properties Bar are set to visible by default. You can choose to Show/Hide any of these as necessary.
The toolbars can be moved around by clicking on the dotted upper borders and dragging them elsewhere on the interface.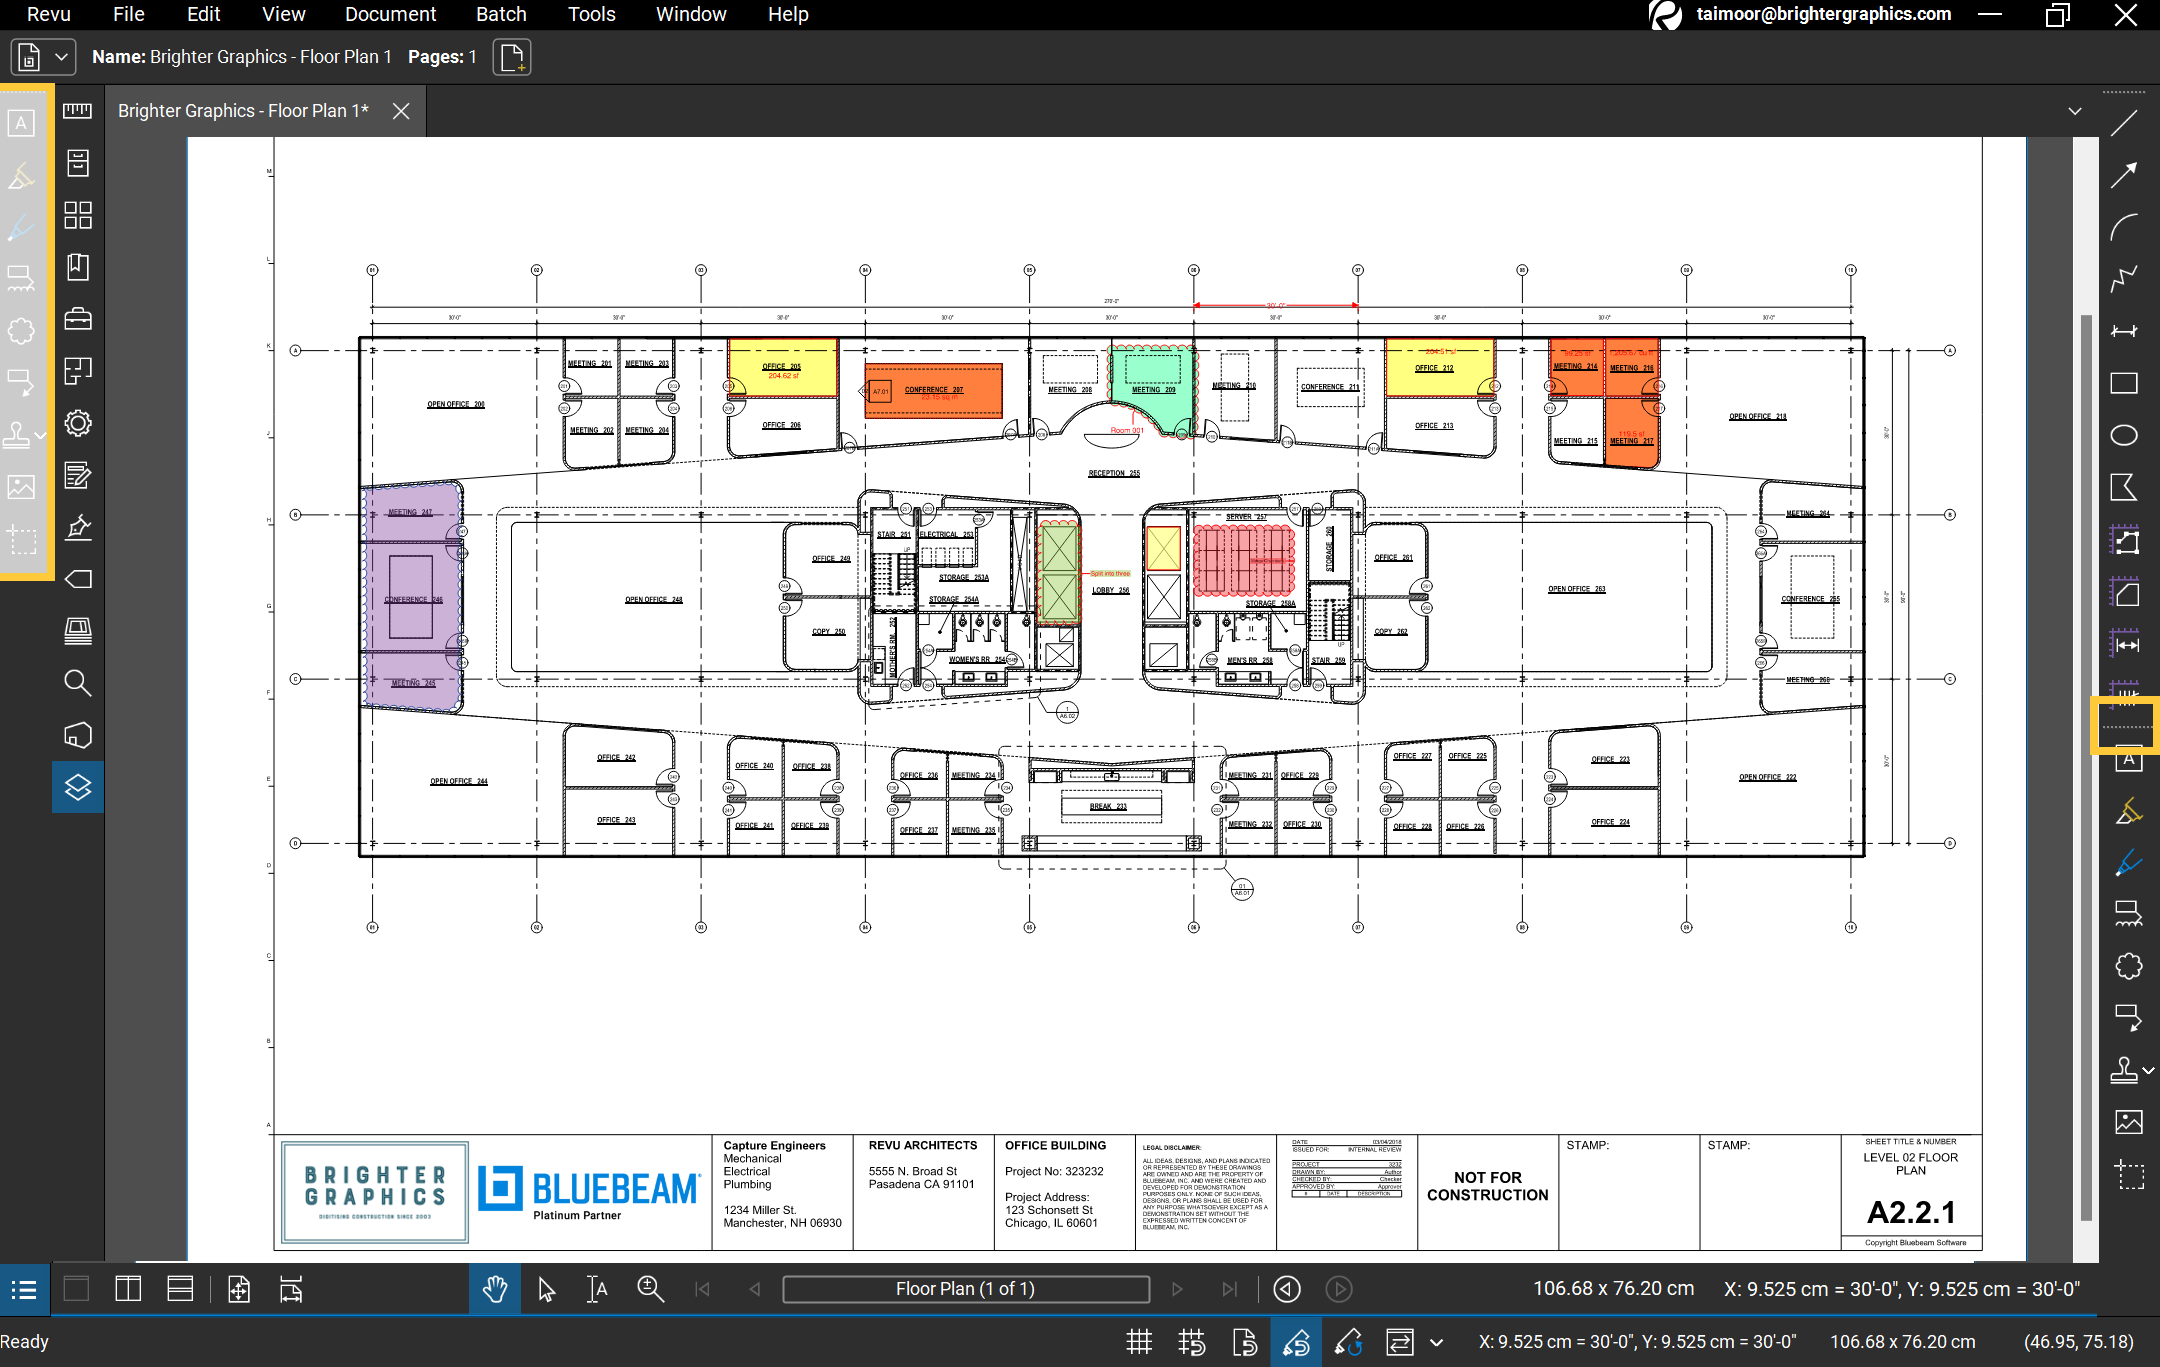
(5) Properties Bar
The Properties bar is a special toolbar just above the main workspace that shows specific properties based on the current selection. When nothing is selected, it shows the open document’s properties.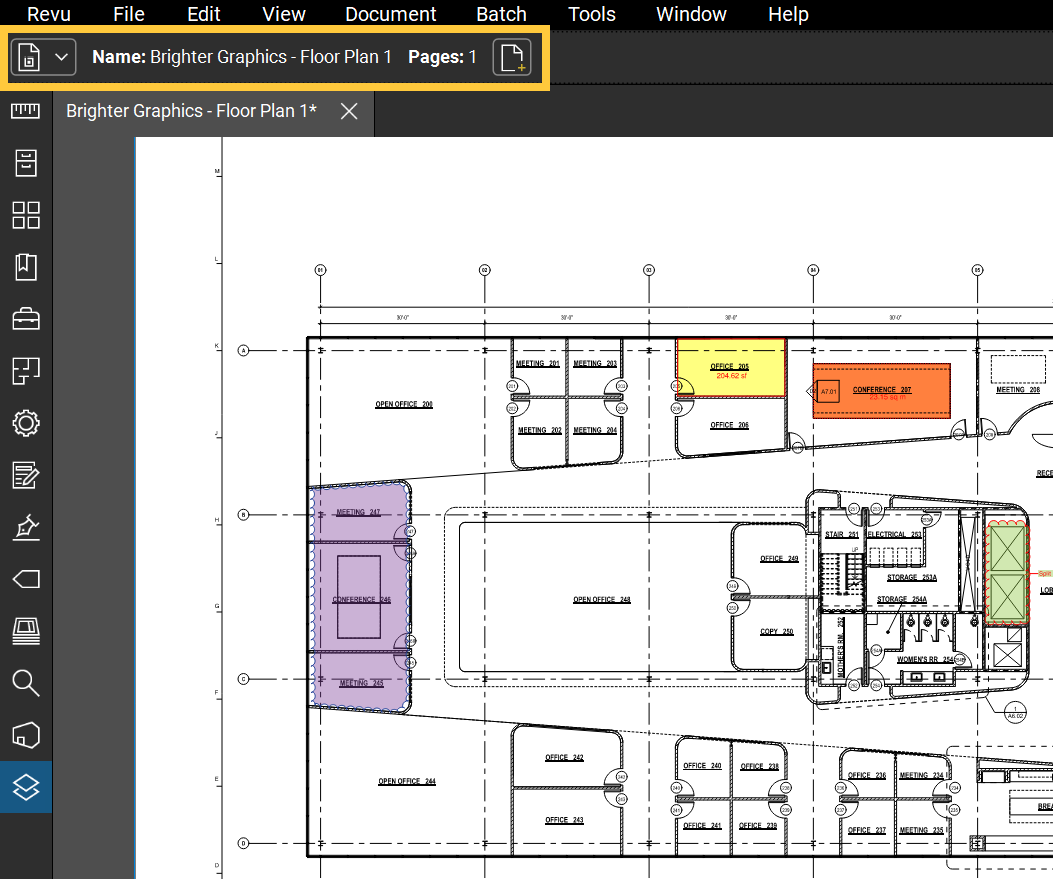
If you select a markup, it will start showing the attributed Properties for the selected markup. It allows you to edit markups quickly without opening a separate markup properties section.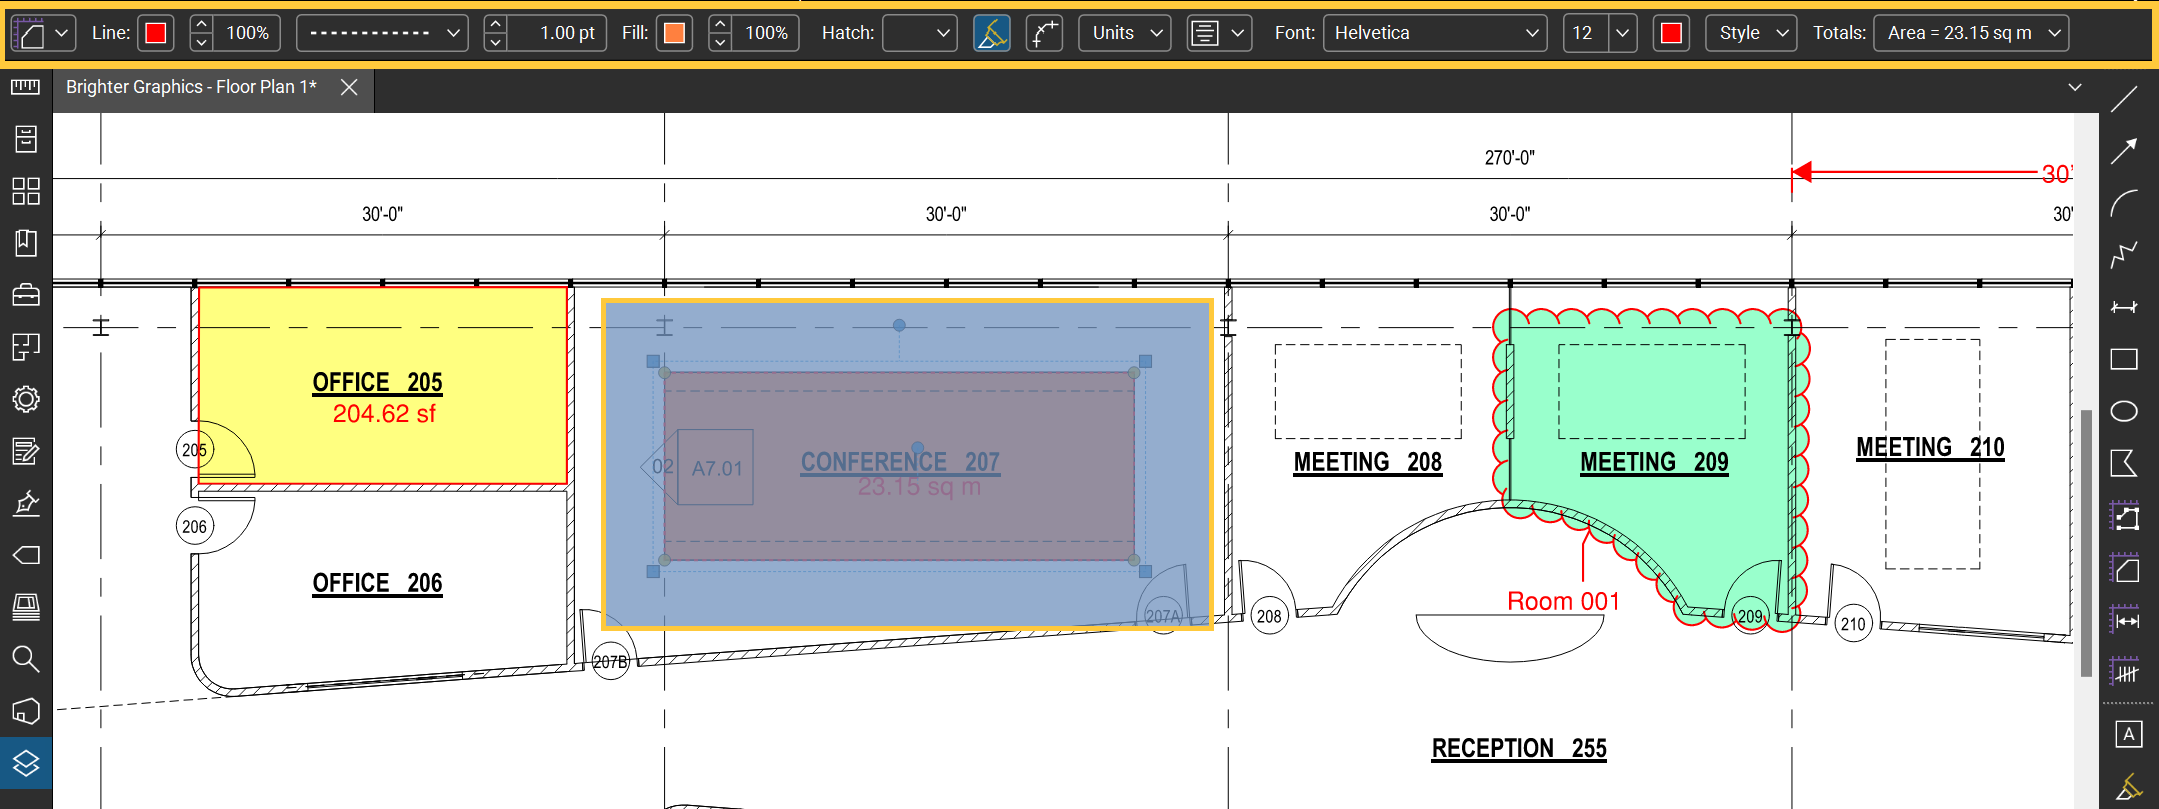
To learn more, check out our comprehensive resource librarycovering detailed tutorials and how-to guides for Bluebeam's different functionalities and use cases.