

The 3-Point Radius tool in Bluebeam Revu 21 provides a more flexible way to measure a radius by allowing you to define a circle using three points along its edge.
Unlike the standard Radius Measurement, which uses a centre-based approach, the 3-Point Radius tool calculates the radius from three anchor points placed directly on the circular boundary. This makes it especially useful when the centre of the circle is not clearly visible or accessible.
Step-by-Step Guide to 3-Point Radius Measurement in Bluebeam Revu 21
In this guide, you will learn how to use the 3-Point Radius Measurement tool in Bluebeam Revu 21, adjust it for accuracy, and manage the measurement data within the Markups List. Let's see how.
Step 01: Open your PDF drawing in Revu
01 A: Open Bluebeam Revu 21 on your desktop.
01 B: Go to the File menu.
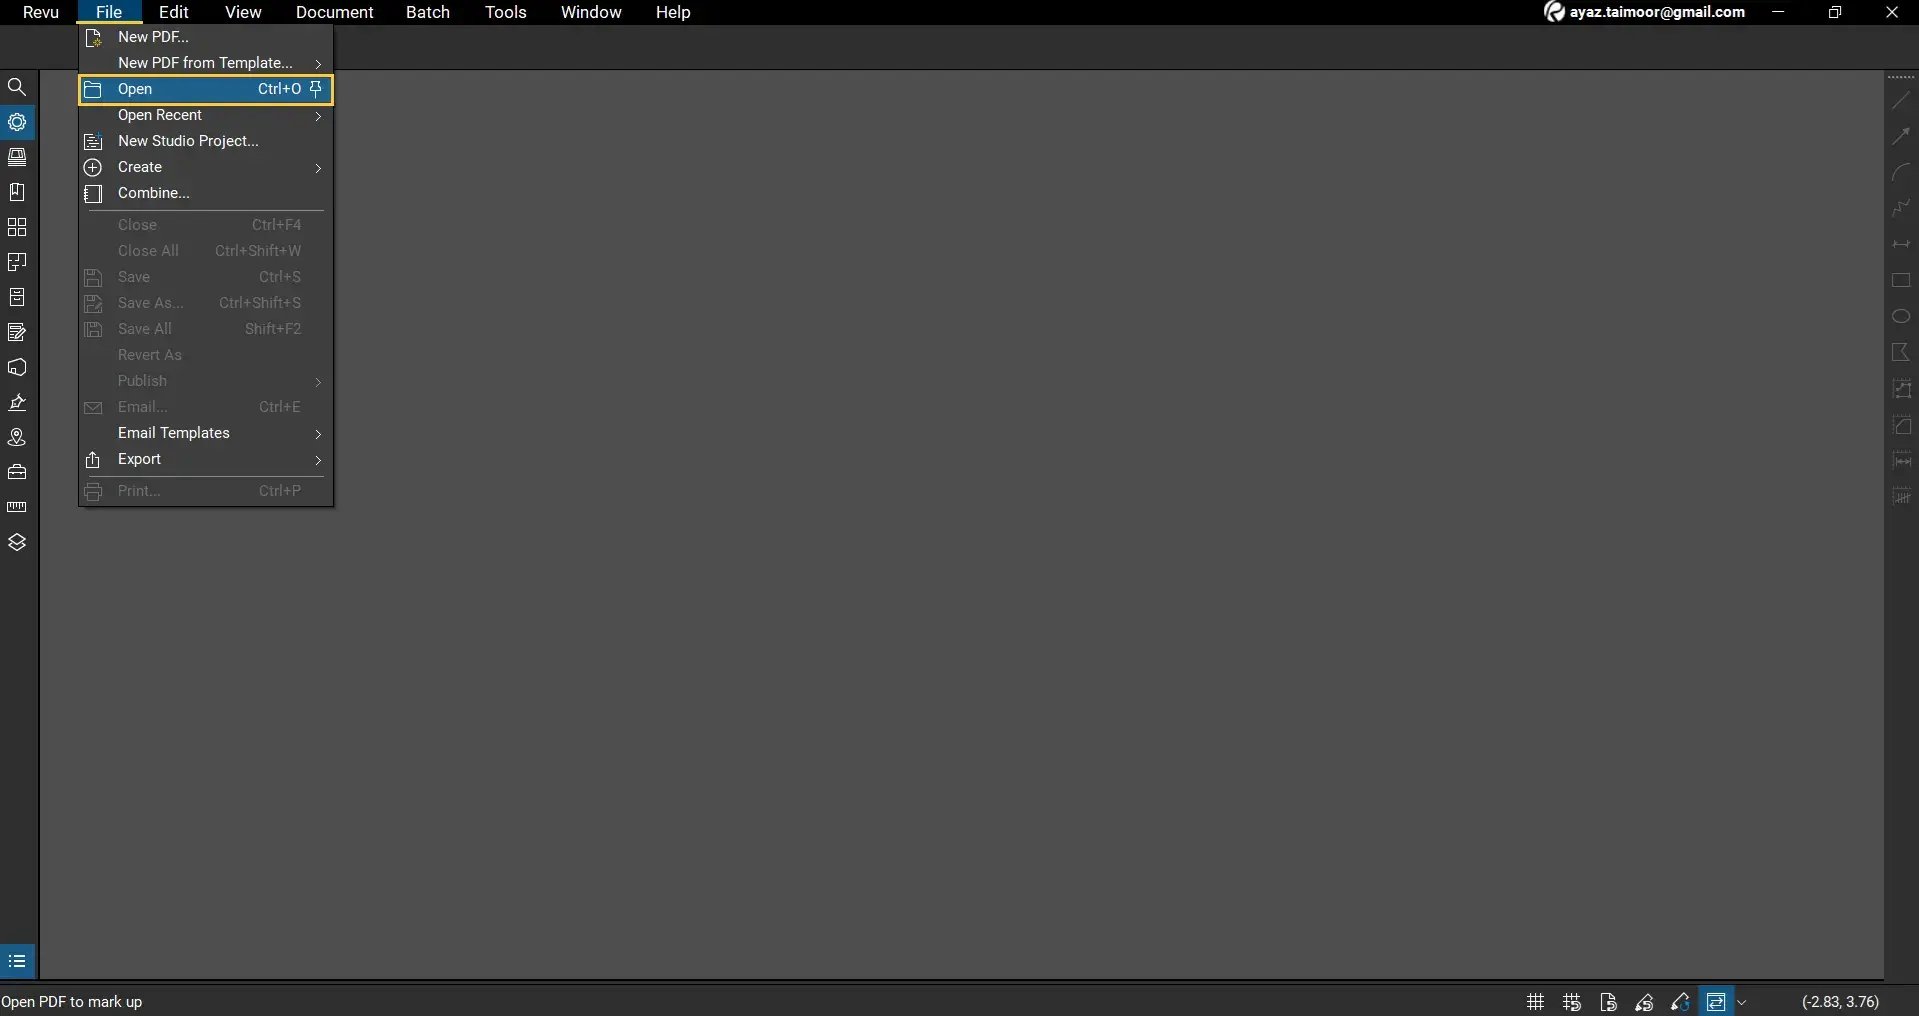
01 C: Click Open and select the PDF drawing you want to work with.
For this example, we are using a drawing containing a circular region we want to measure.
Step 02: Zoom in on the Target Area
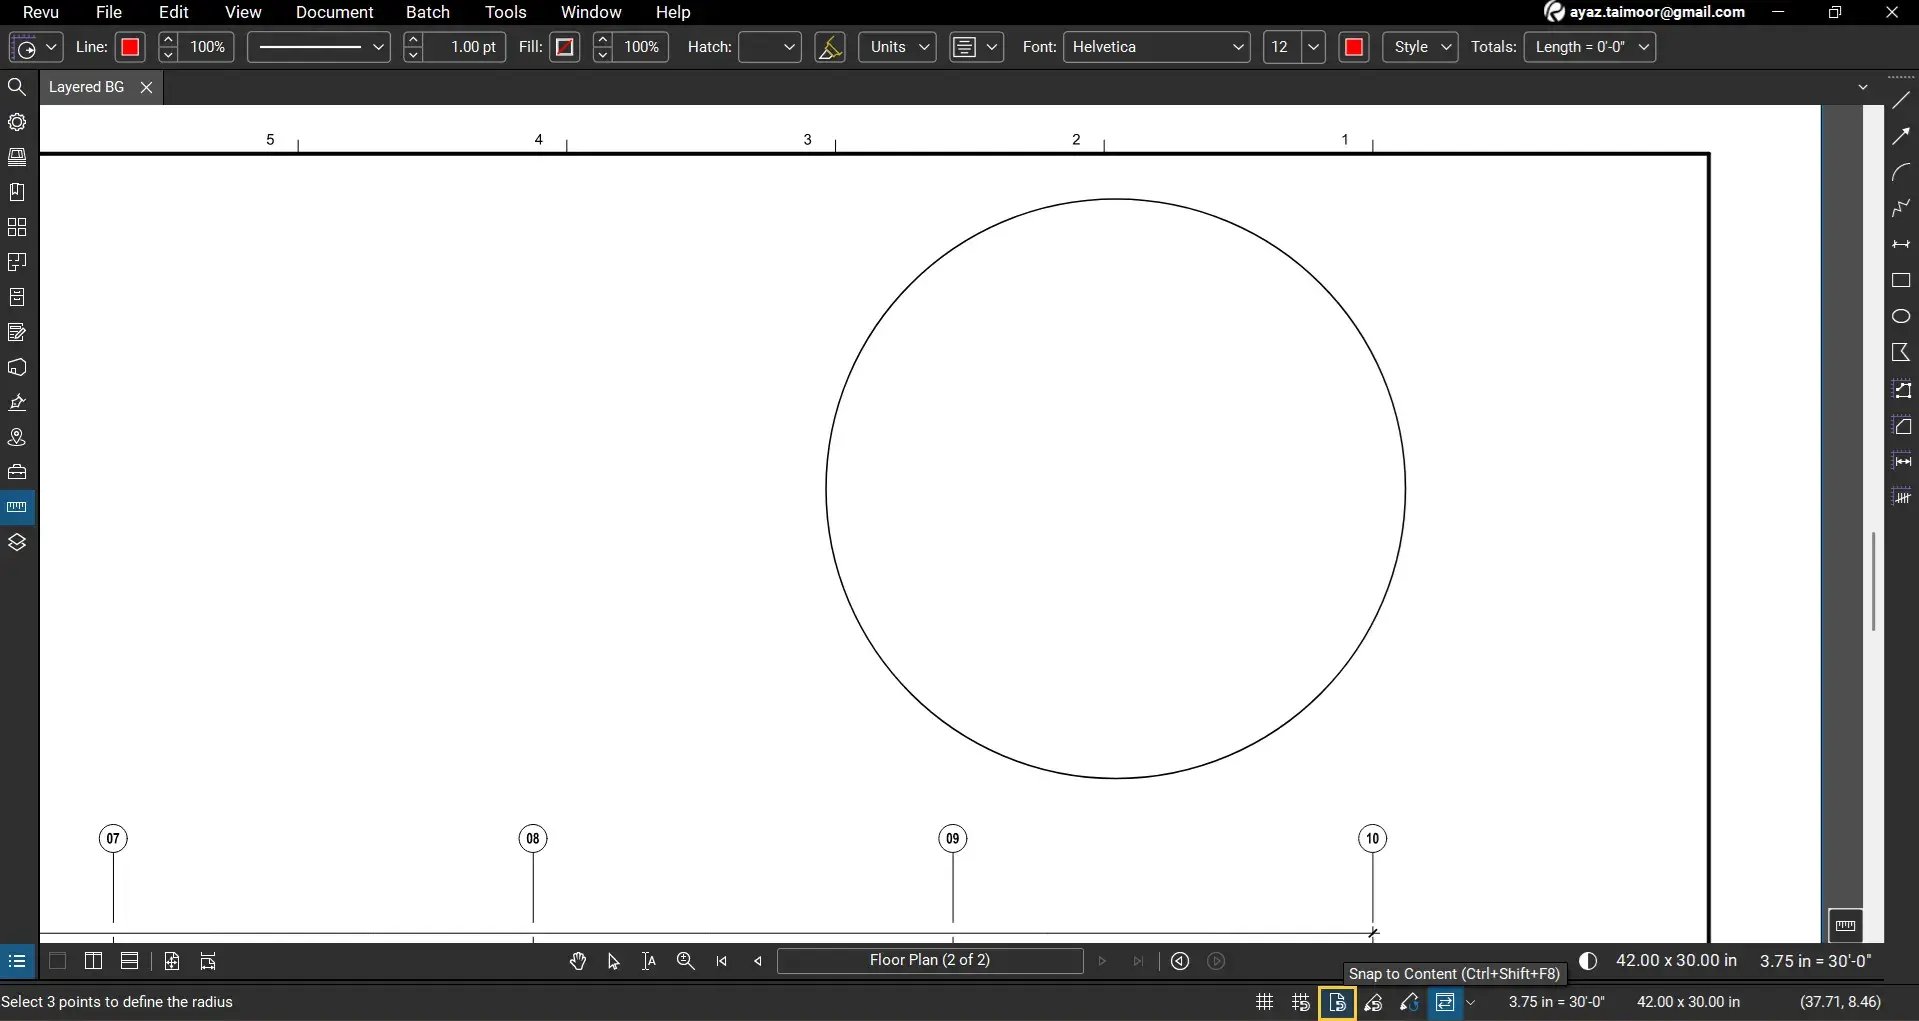
02 A: Use your mouse scroll to zoom in on the circular object.

02 B: Adjust your view so the edges of the circle are clearly visible.
Step 03: Select the 3-Point Radius Measurement Tool
Before proceeding, ensure that your snap-to-content feature is enabled on the navigation bar below or use its shortcut Ctrl+Shift+F8. Learn why.
Now select the 3-point radius measurement by:
03 A: Opening the Measurements panel on the left side of your workspace.
03 B: Clicking the dropdown arrow next to the simple Radius tool.
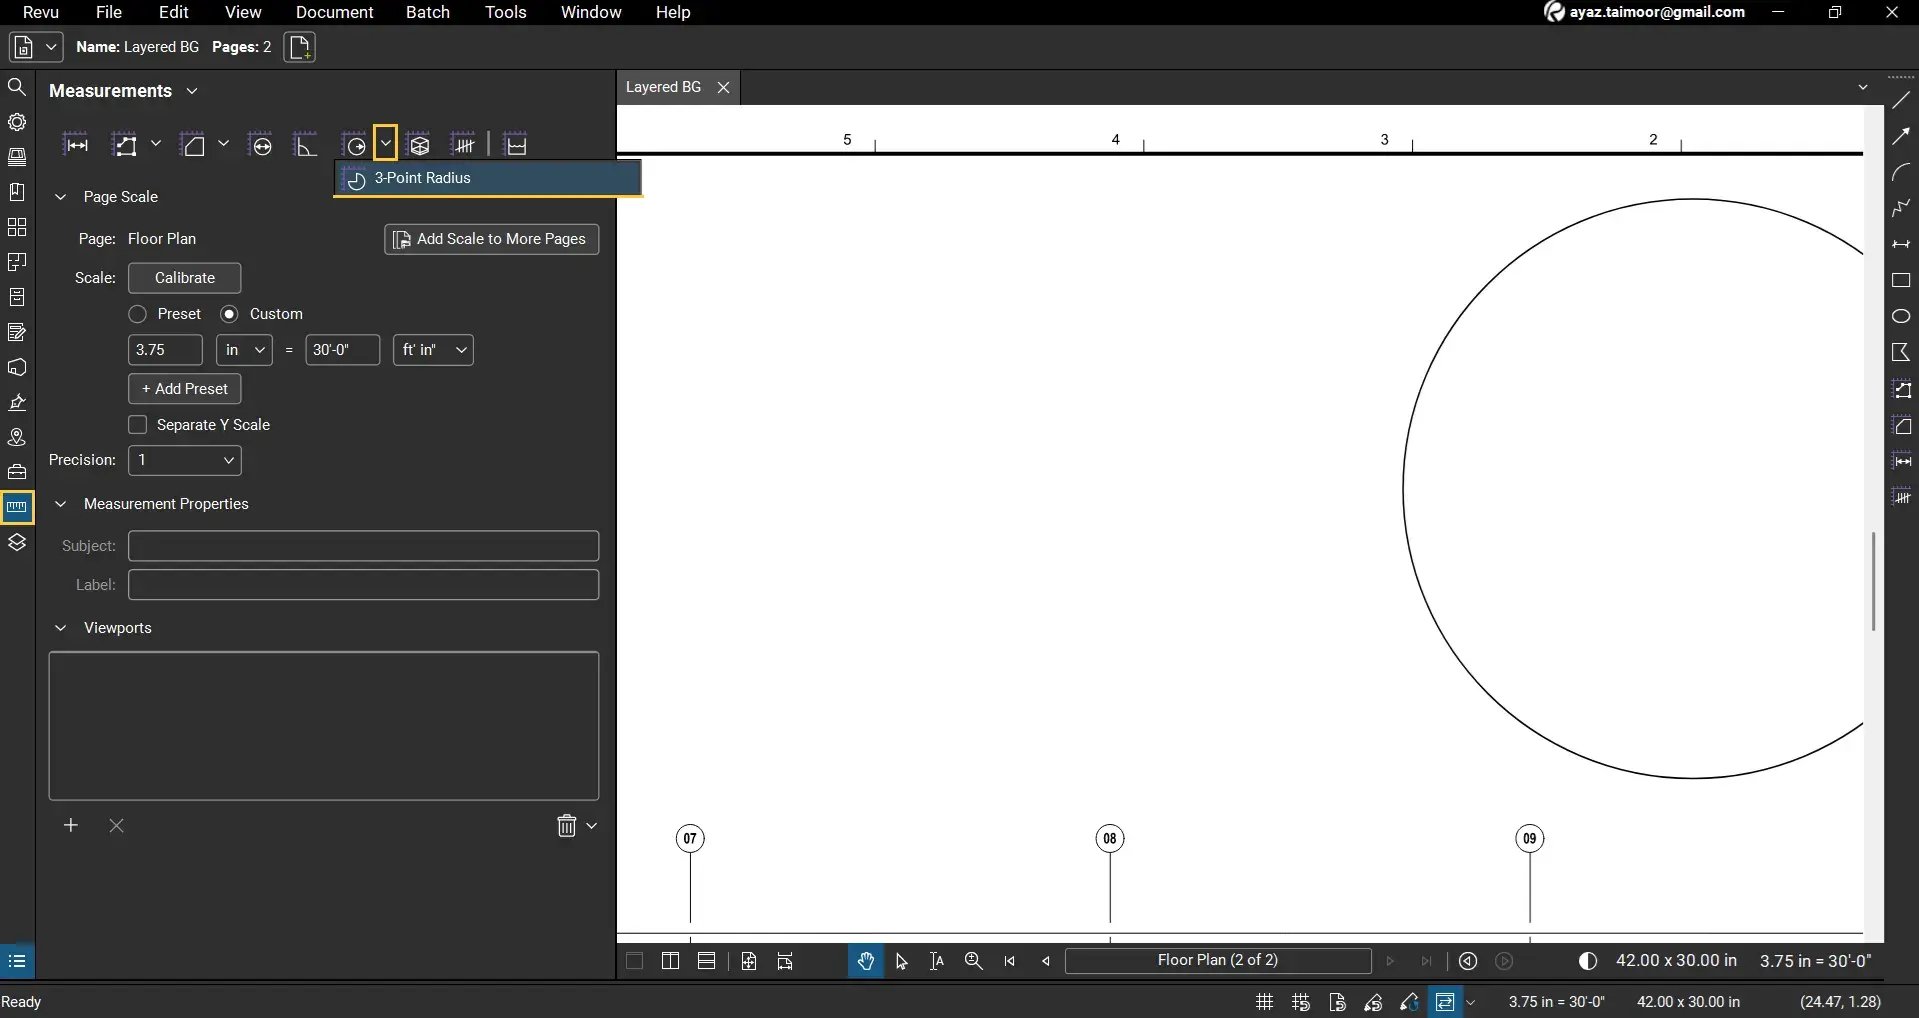
03 C: Select 3-Point Radius.
The 3-point radius allows you to define a circular arc using three points along its boundary.
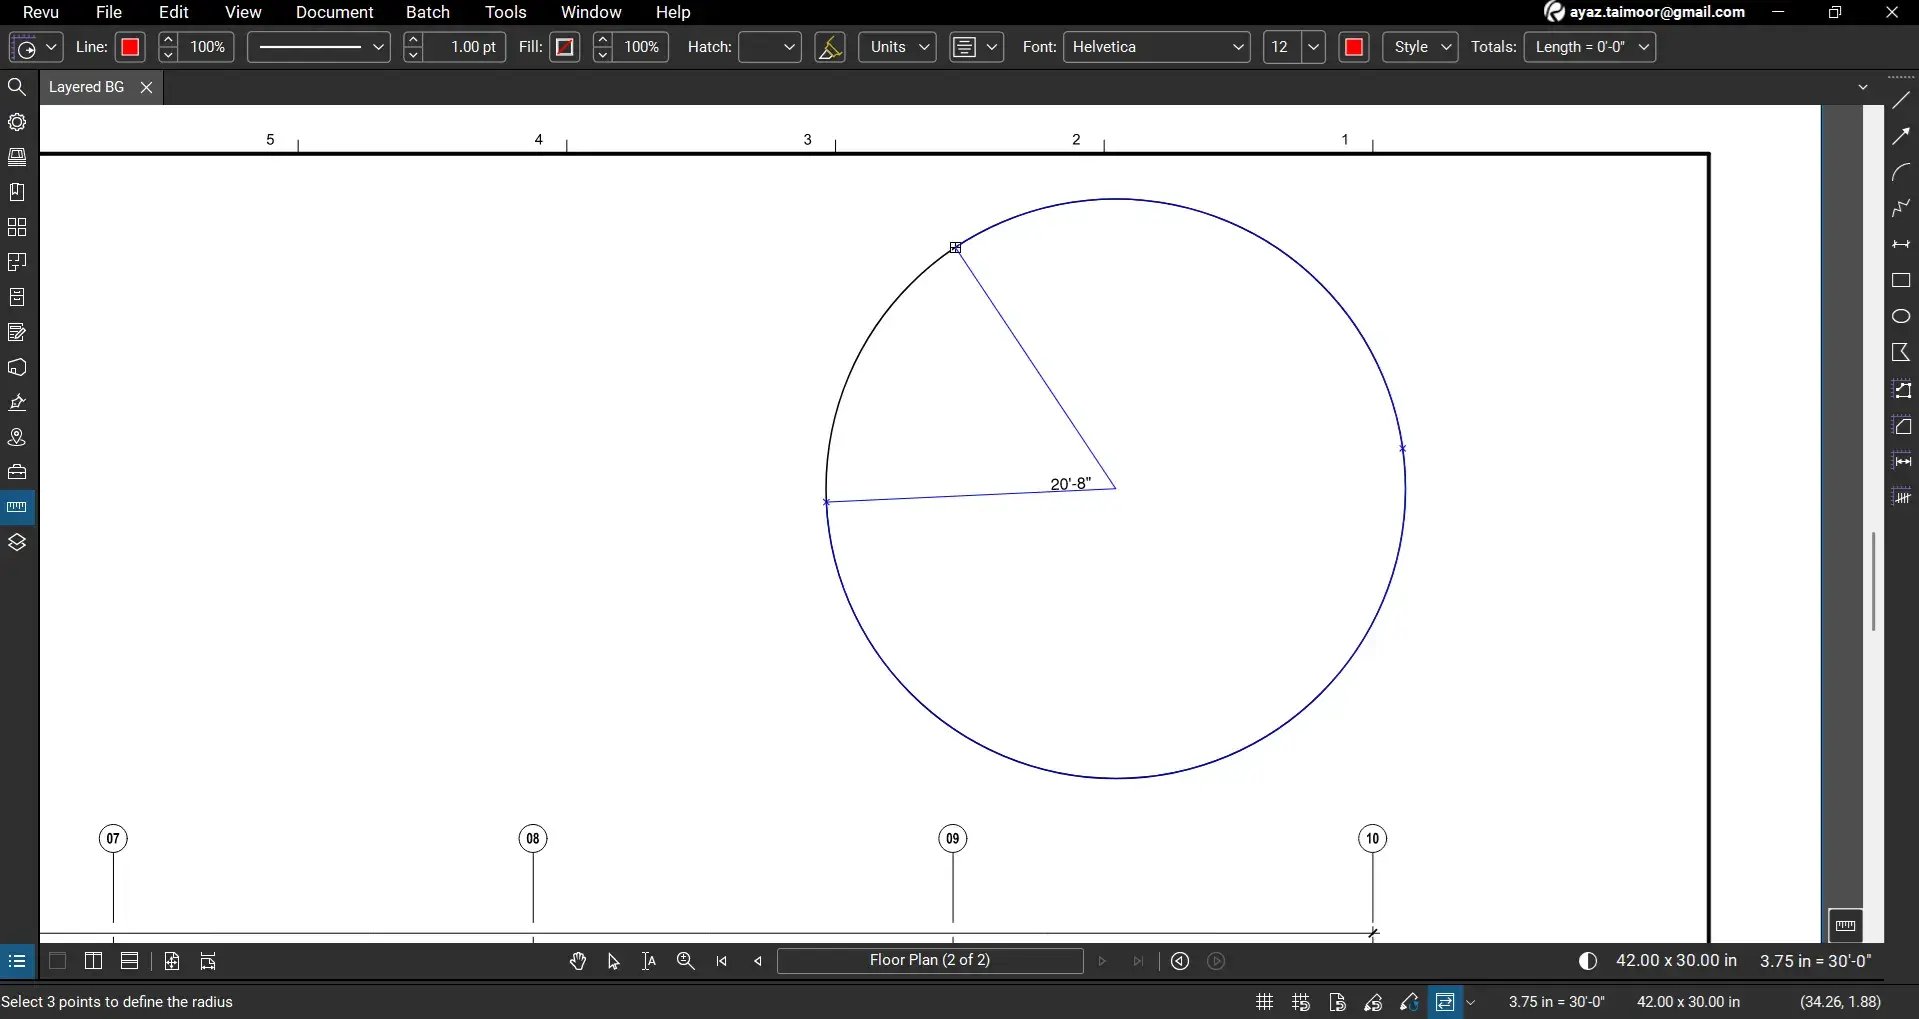
Step 04: Place the First Two Anchor Points
04 A: Click once on the edge of the circle to place the first anchor point.
04 B: Click again on another point along the circle boundary to place the second anchor.
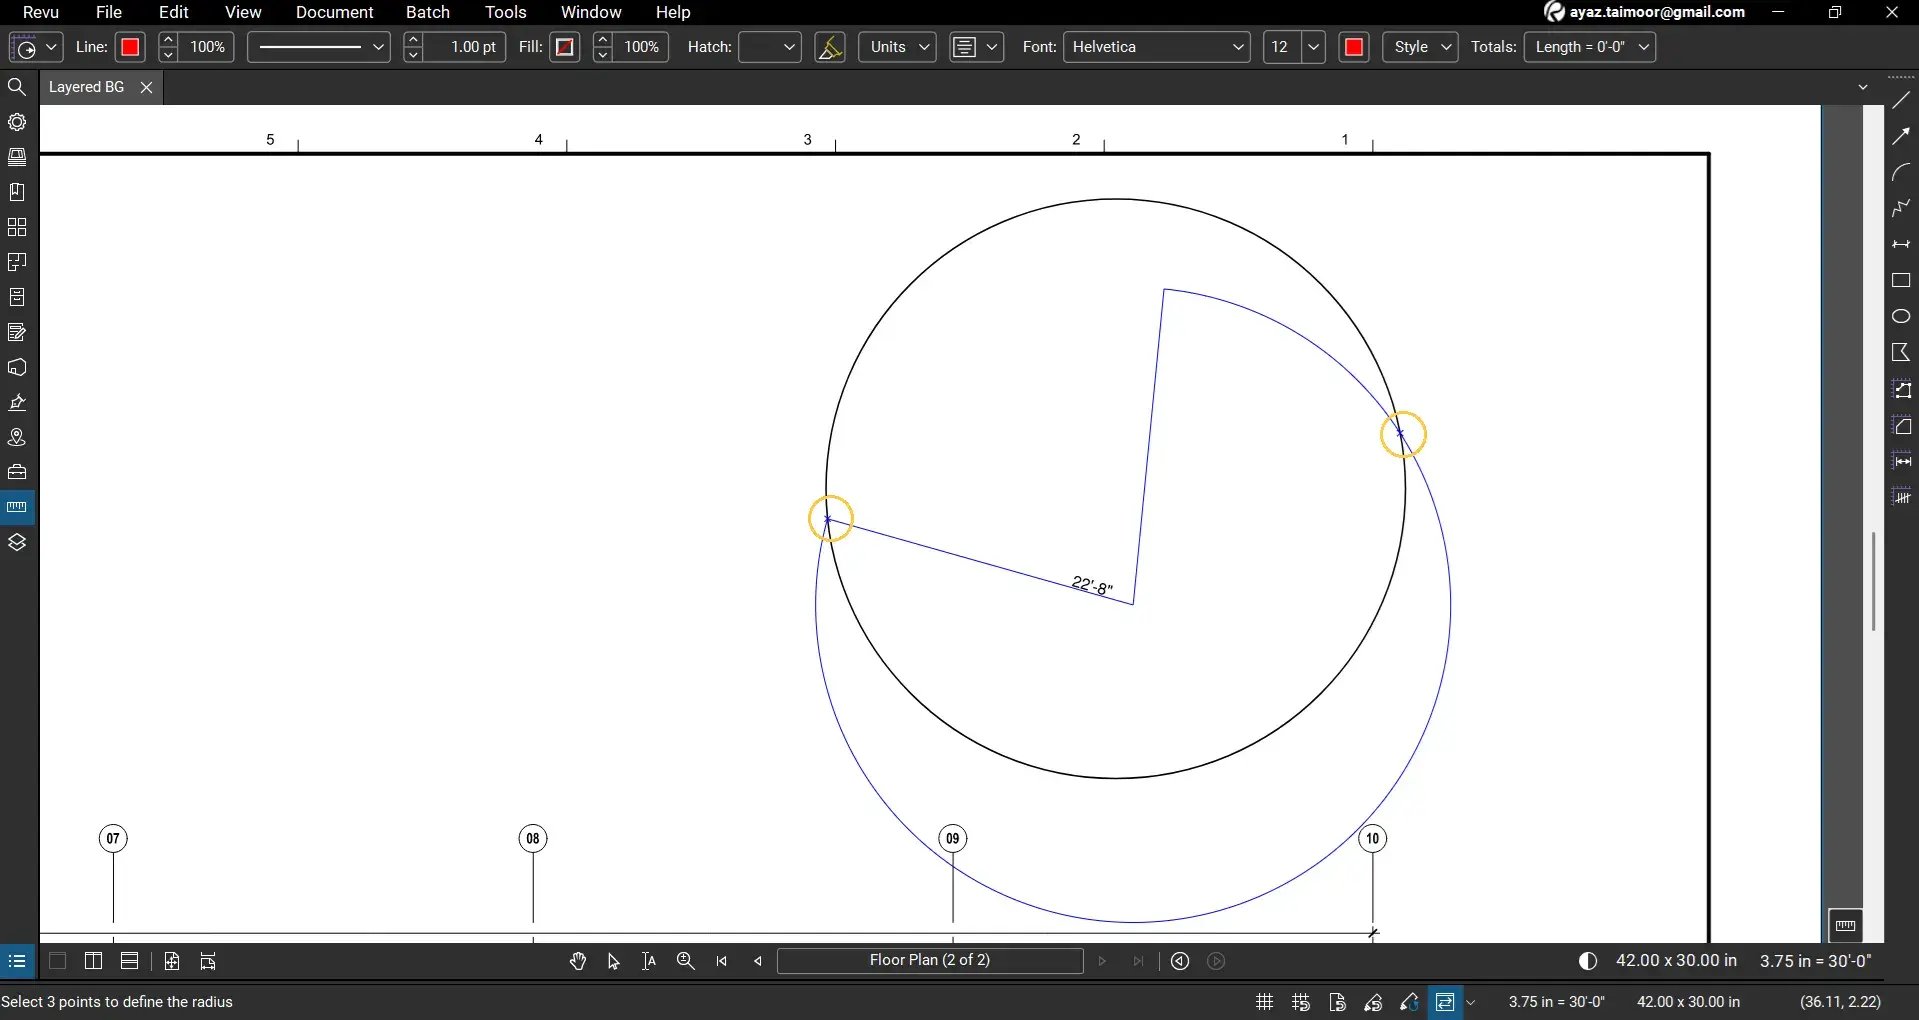
After placing two points, a temporary radius preview will appear.
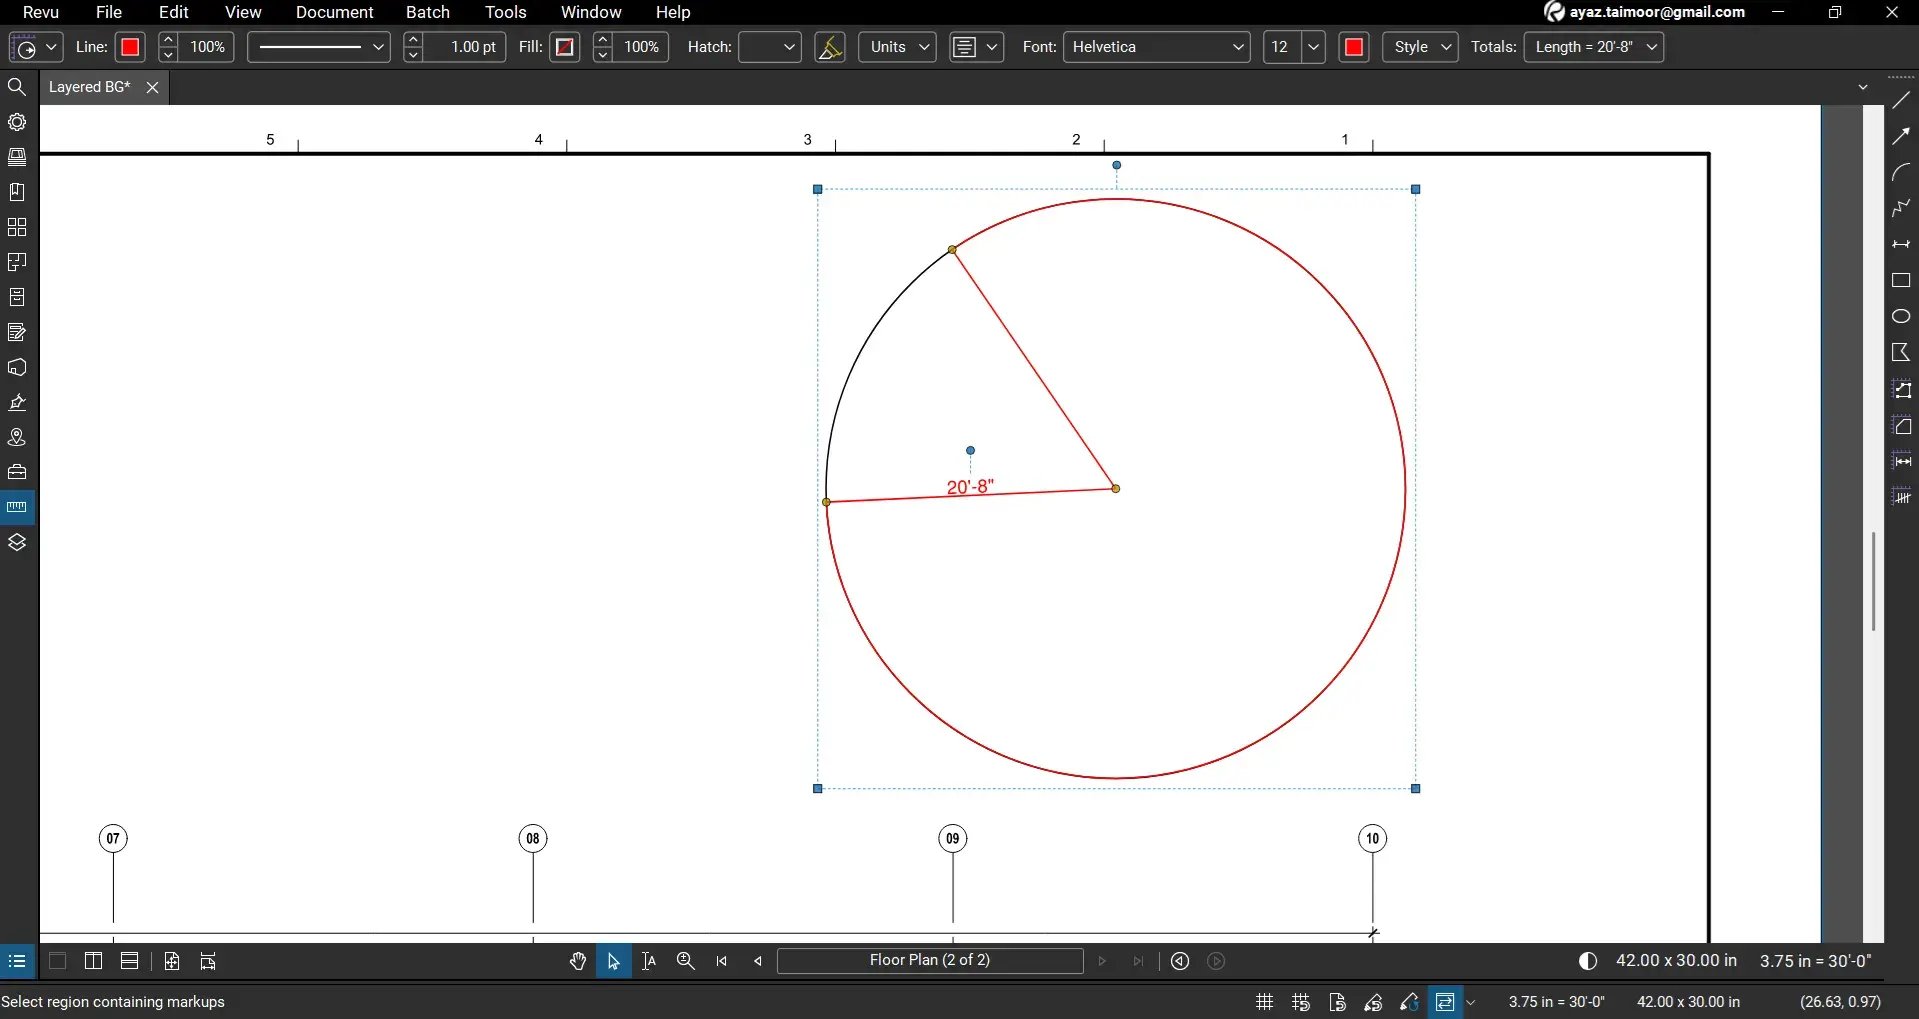
Step 05: Place the Third Anchor Point
05 A: Position your cursor on any point on the circle’s surface.
05 B: Click to place the third anchor point.
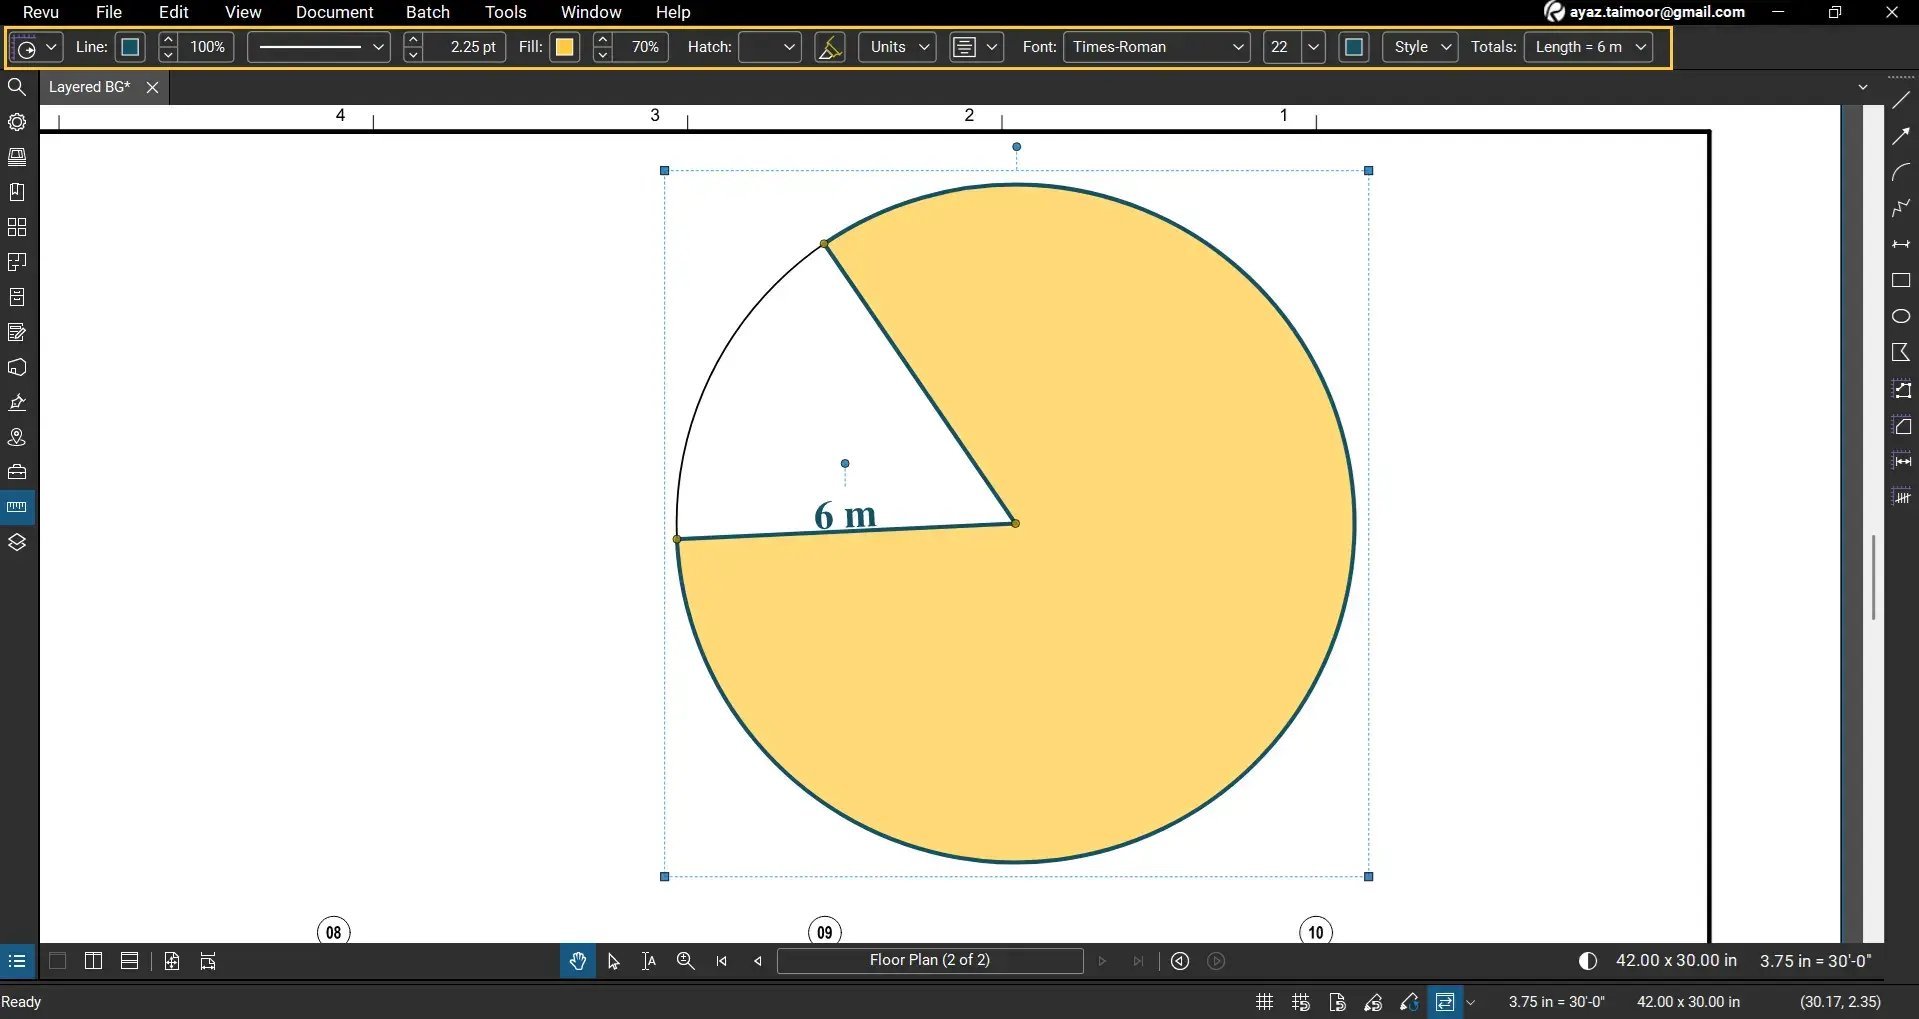
The radius measurement will appear on your drawing, and Revu will start showing the radius based on the three selected points.
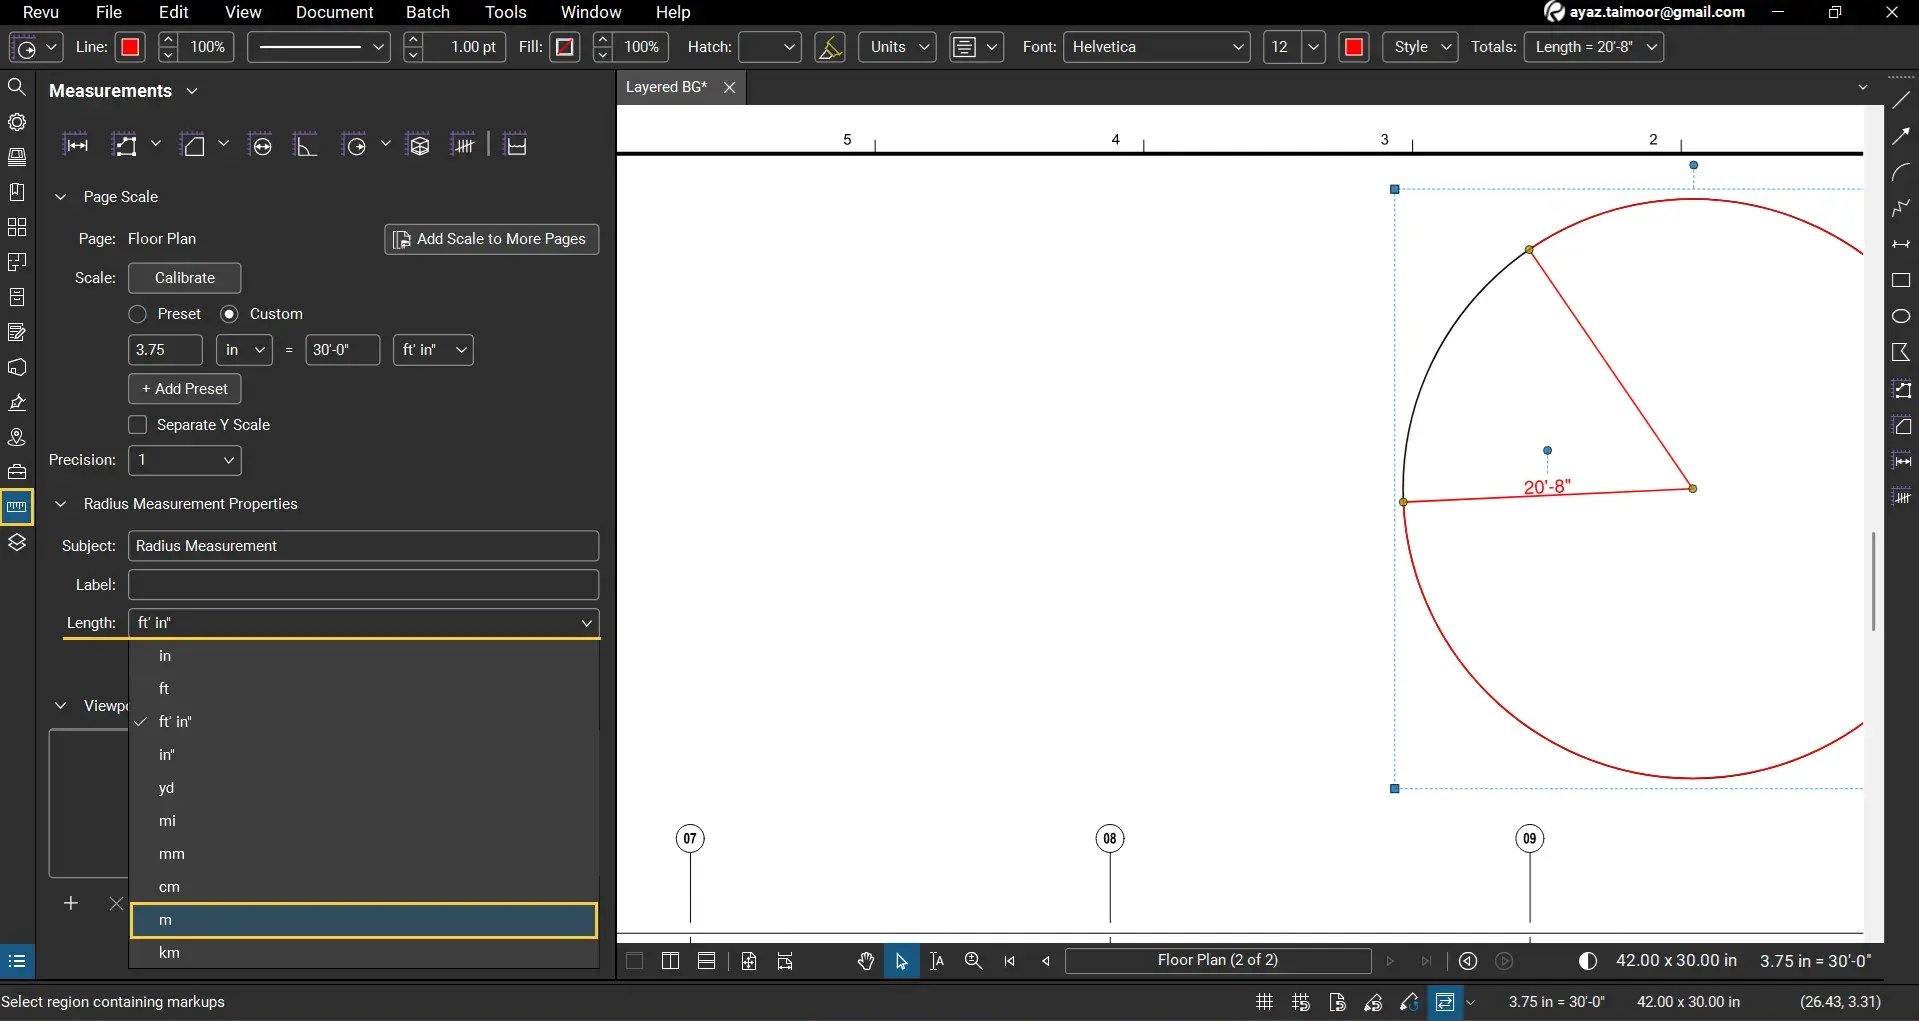
Change Measurement Units for Your Radius
Since radius is a linear measurement, it uses length units. To change the measurement unit:
- Select the radius measurement.
- Go to the Measurements panel.
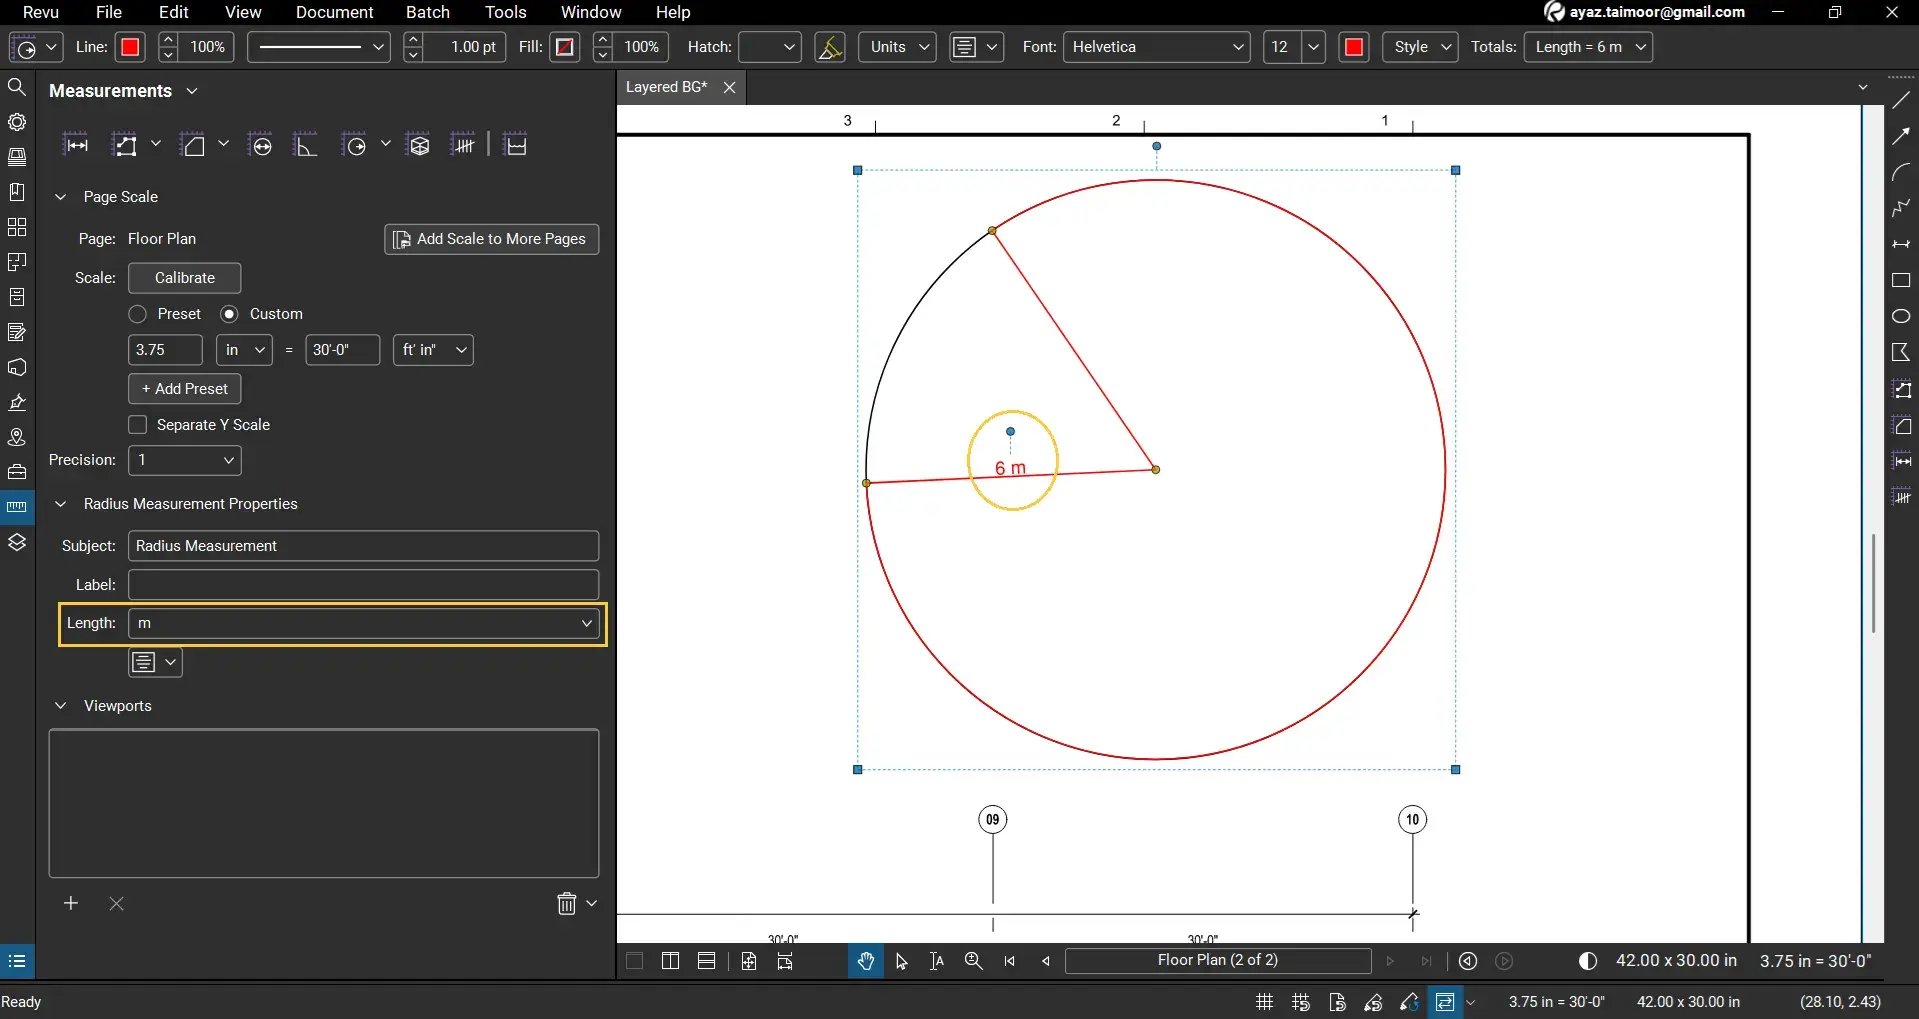
- Change the Length Unit to your preferred unit. For example, switch from feet and inches to meters.
The radius value will update instantly and display in meters.
You can also select your measurement and use the markup toolbar at the top to change the appearance of your 3-point radius and save it as a Custom tool in your Tool Chest.
View 3-Point Radius in the Markups List
- Open the Markups List at the bottom of your workspace.
- Locate the 3-point radius measurement under the Subject column labelled Radius Measurement.
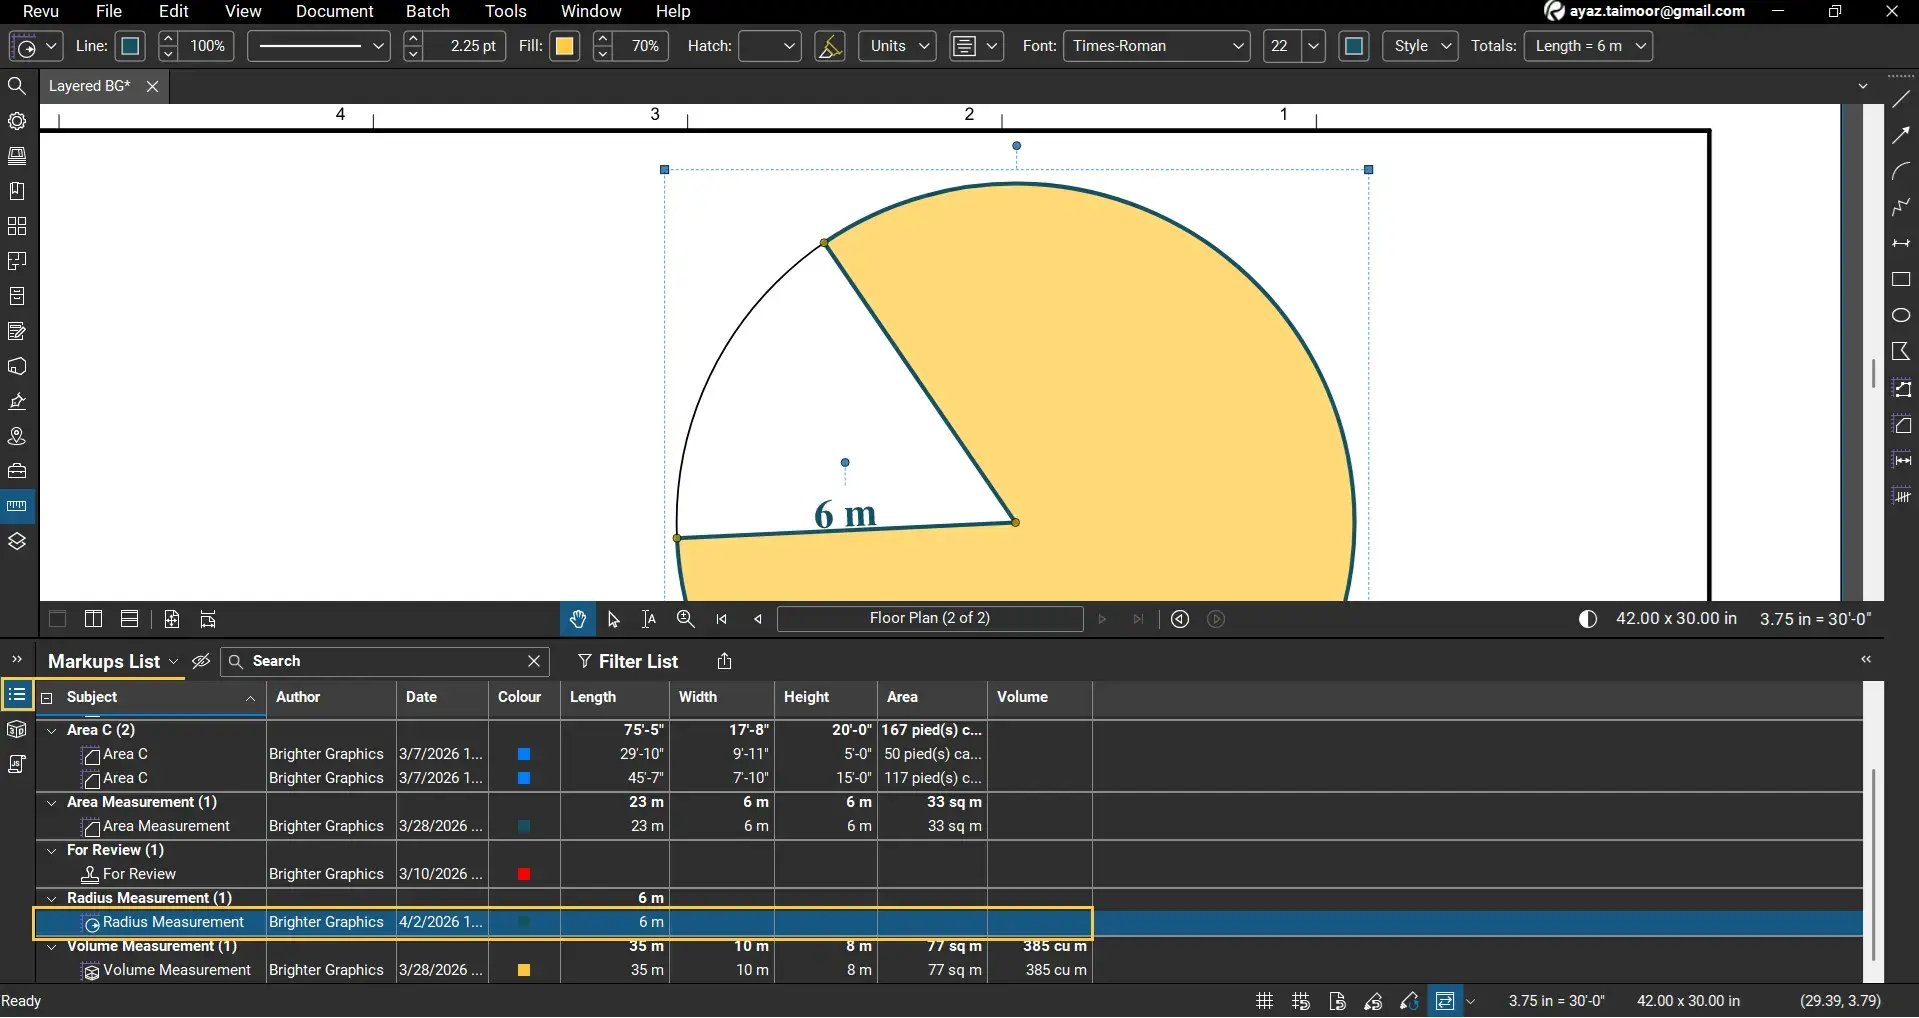
Here you can view your measurement properties and data, including:
- Measurement values (measurement, length, etc.)
- Subject, Author, Date, and other metadata
- Other markup properties based on enabled columns in the Markups List
This allows you to use the measurement for further analysis or reporting. Read our separate guide on Creating and using custom columns in Bluebeam Revu 21.
Why Use the 3-Point Radius Over Simple Radius Measurement?
The 3-Point Radius tool is particularly useful when:
- The centre of the circle is not visible
- You are working with scanned or raster PDFs
- The geometry is irregular or partially visible
- You need a more flexible way to define circular measurements
Level Up Your Bluebeam Experience
This is how to use the 3-Point Radius Measurement tool in Bluebeam Revu 21 to accurately measure circular geometry using three anchor points. If you don’t want to use simple Radius Measurement in Revu for complex or cluttered drawings, you can rely on this method for more flexibility, which is especially useful when working with complex or unclear drawings.
To further improve your measurement workflows, explore our other Bluebeam guides, including standard radius and diameter measurement techniques.
Stay connected with Brighter Graphics, your go-to Bluebeam partner in the UK, Europe, and the Middle East.


